Let’s build a Thanksgiving Table from start to finish!
Do you love to have friends and family over, but are a little underconfident in your table decor? Or forgo anything fancy because you’re not sure where to start? Then this is for you! We’ll go step by step through how I set up a table, it may not be everyone’s way of doing it, but it’s how we roll around here.
First, to start off, you don’t need an amazing table, matching chairs or even matching plates. The most important thing is the family and friends that are coming over and everyone having a place at the table. It’s kind of like in school when you’d save places for your friends at lunch or they saved you a seat. Everyone just wants to feel important and loved and that’s what gathering is all about! Ok, let’s get into it!
Step 1- Find an inspiration picture before your gathering.
Maybe you’re super imaginative and can come up with ideas on your own, I wish I was you then, because I have to peruse Pinterest and get a little inspiration. Thank goodness for all the talent sharing, I’d be lost! When I saw this picture, I immediately fell in love because it’s not traditional, and the flannel fabric made it feel cozy- it’s coooold where I live! If you want to see the post about the inspiration picture go here.
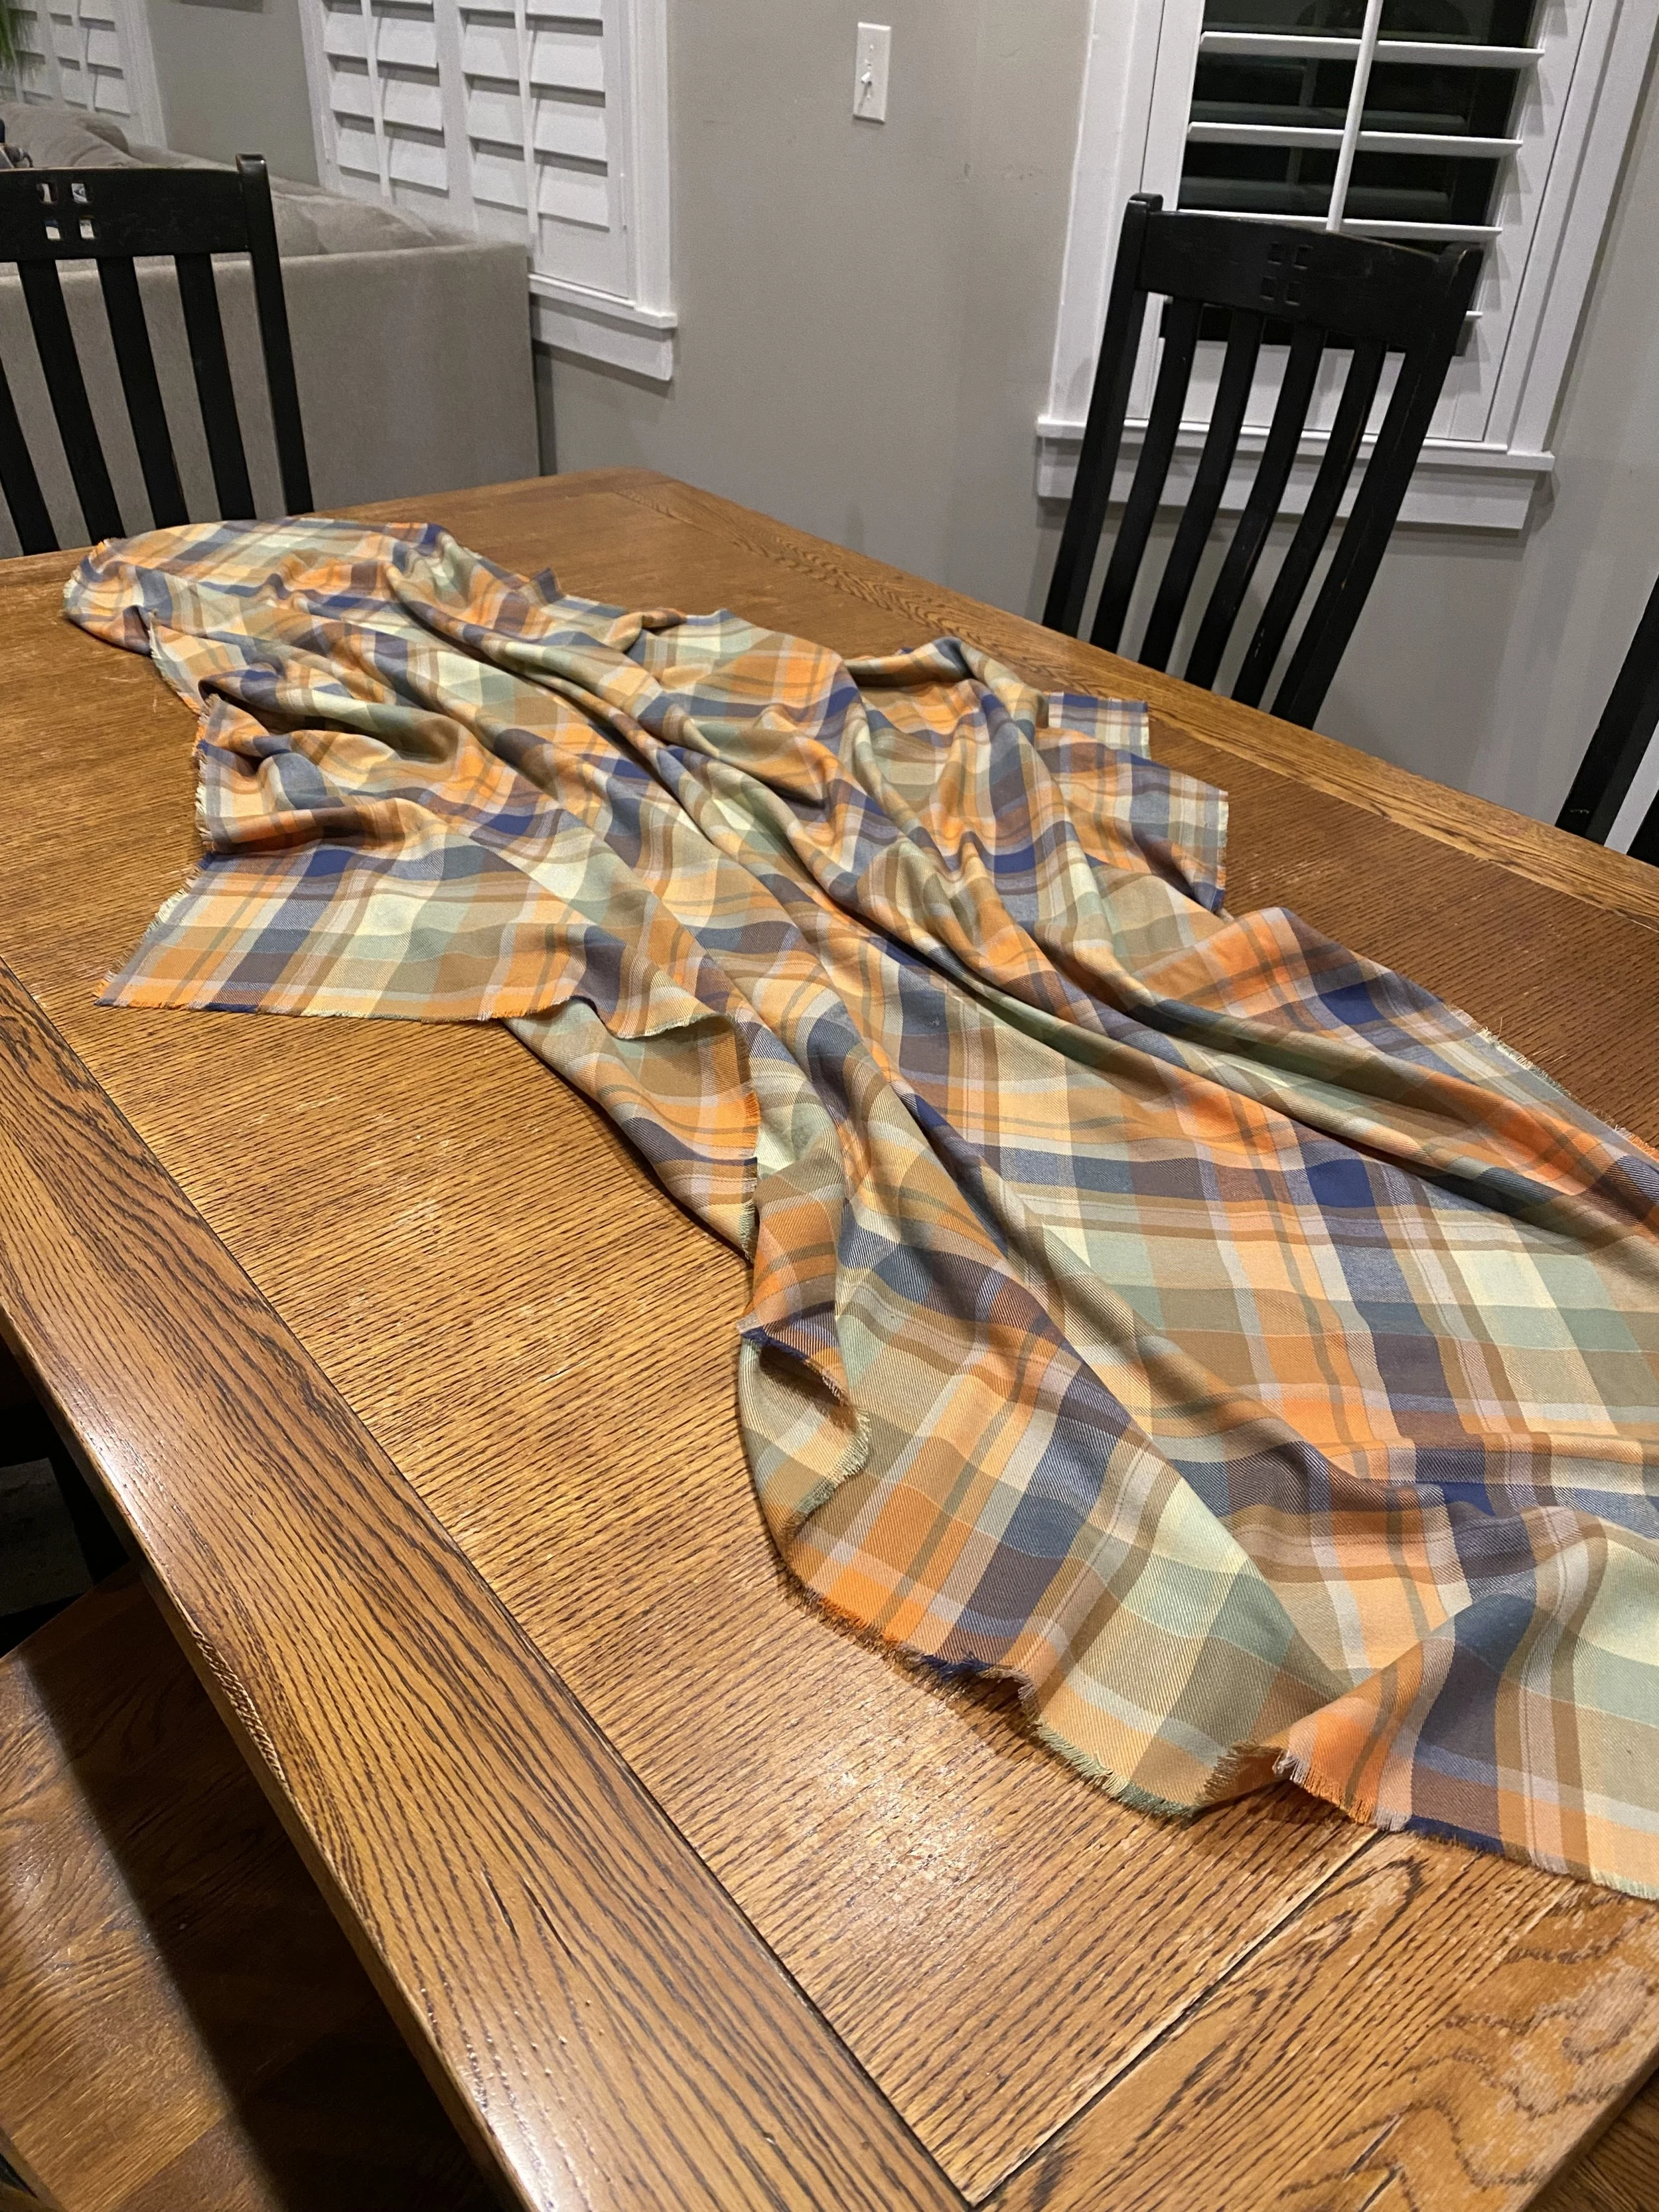
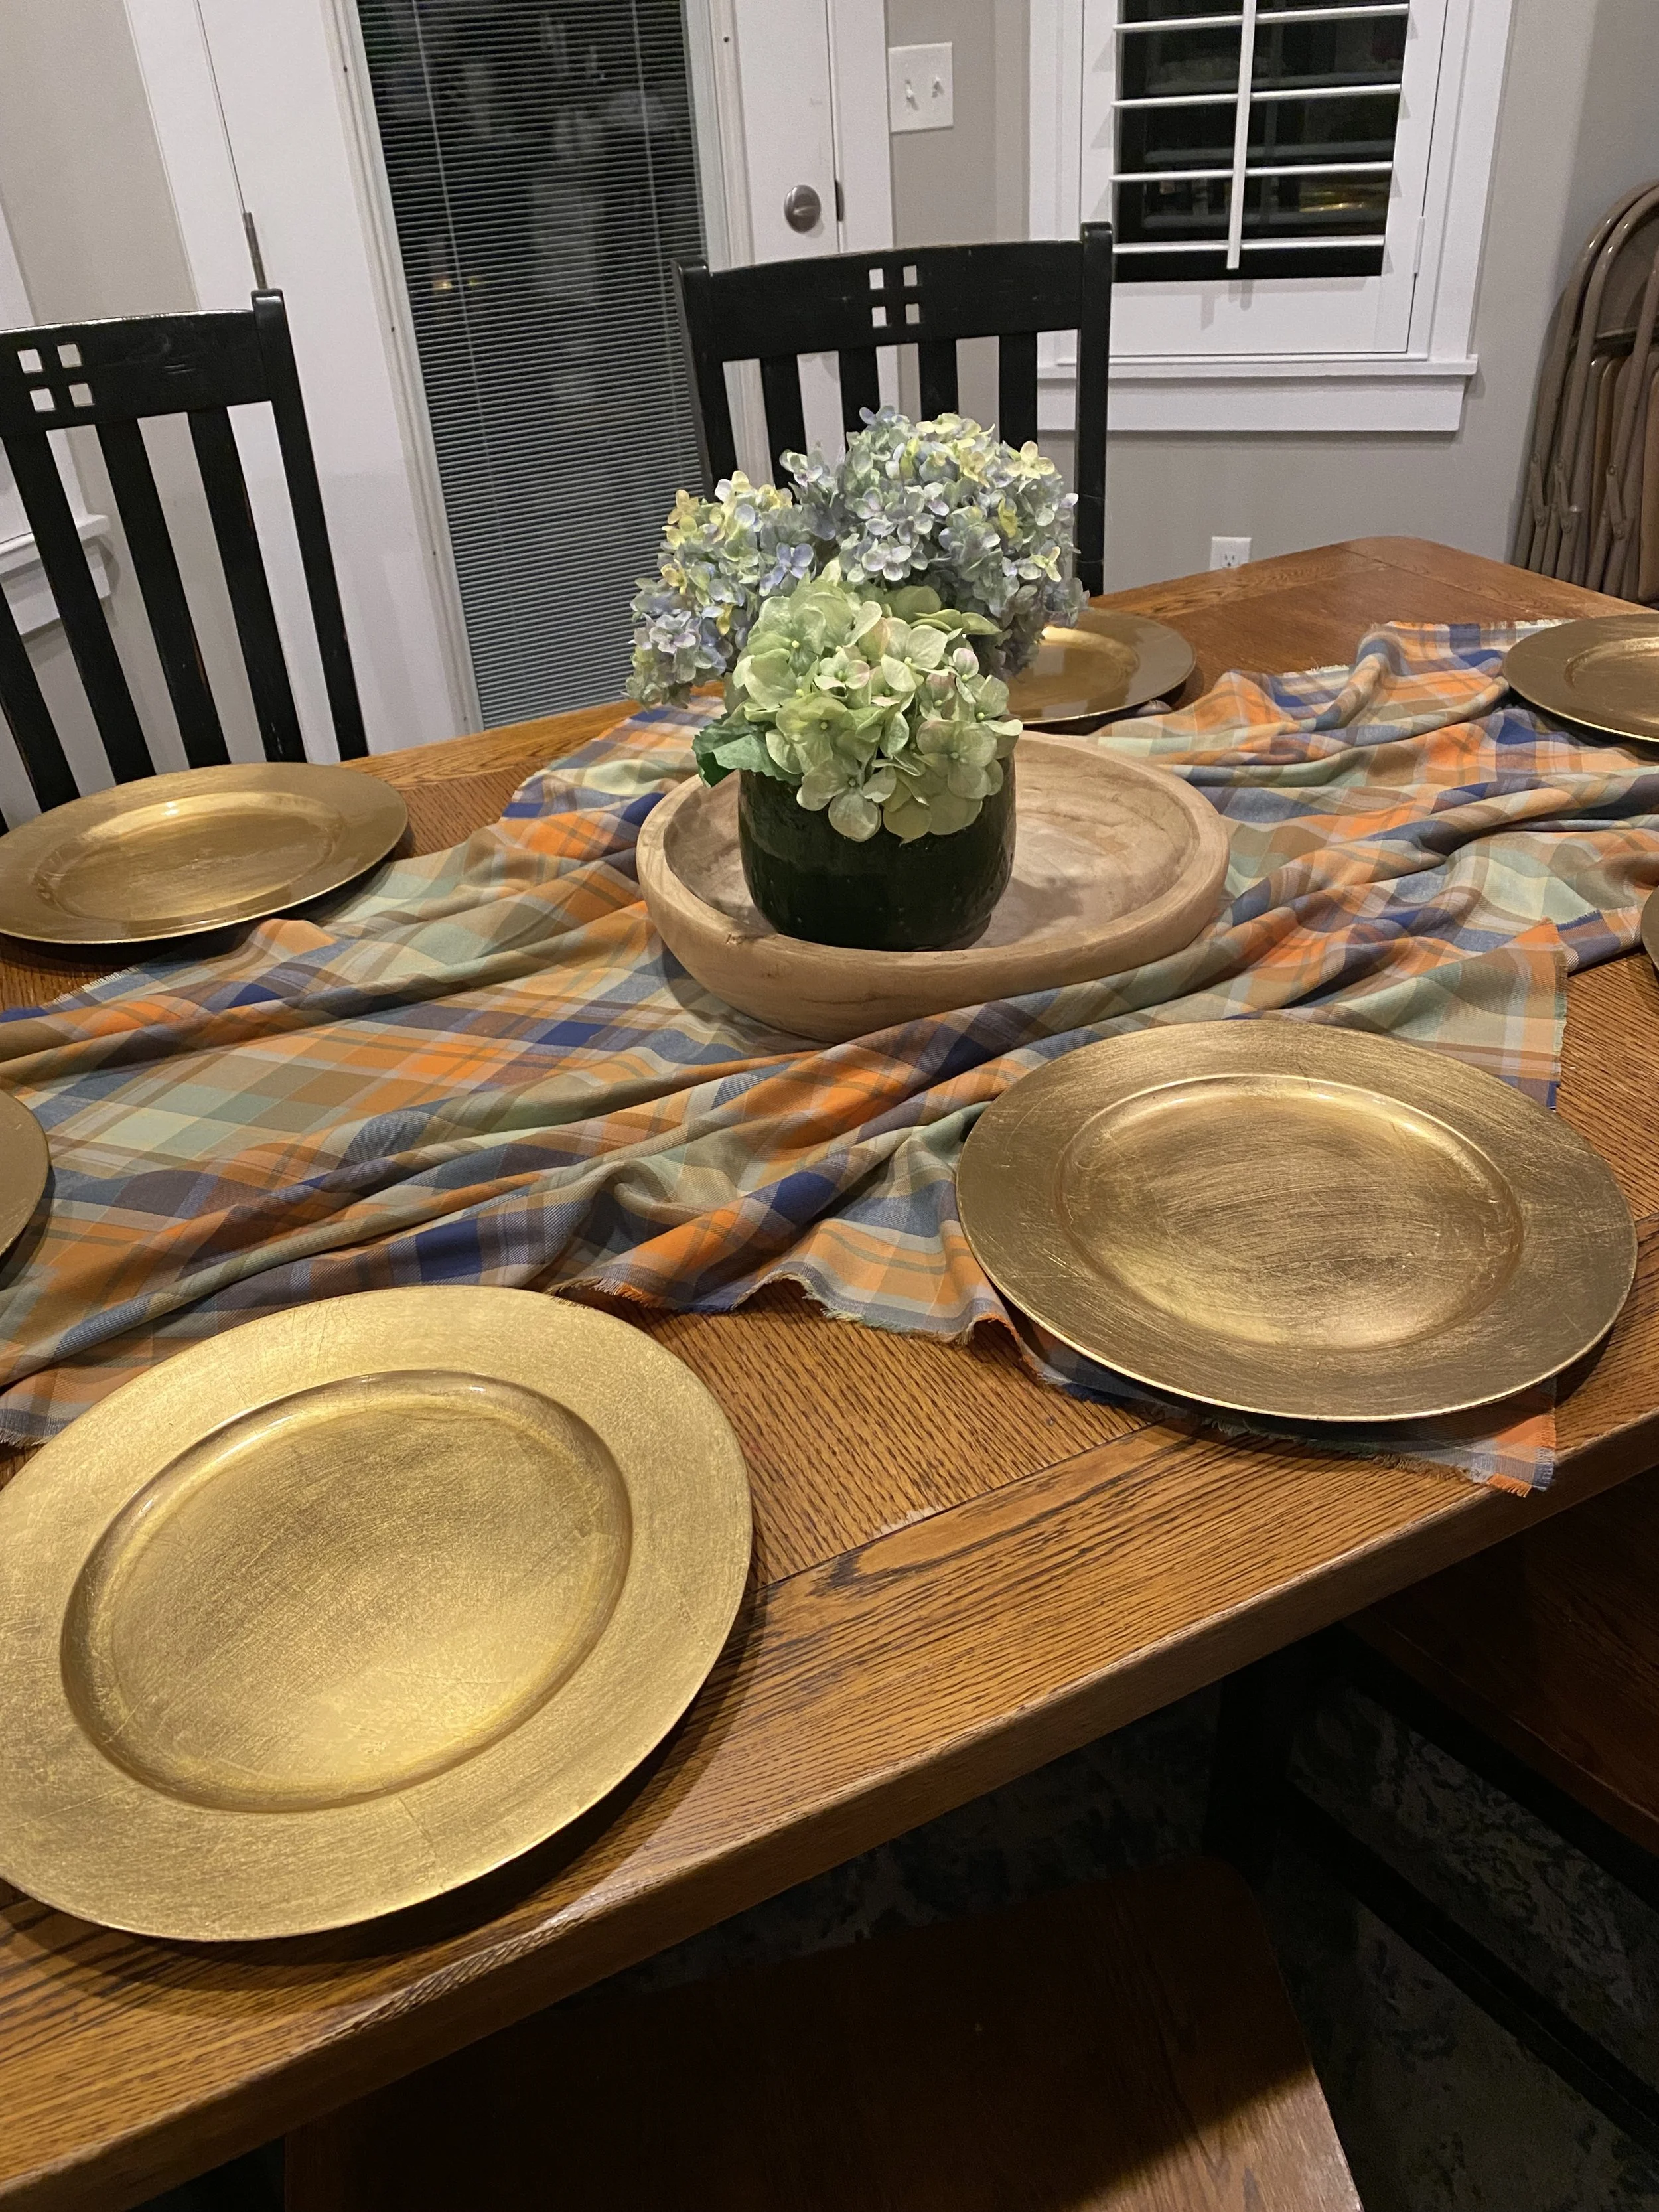
Start with your Flannel Plaid Fabric on your table
Step 2- Identify the element (or two) that you love and find it!
I went to Hob Lob and looked for flannel, it’s not super similar but I liked it. You could also go treasure hunting (thrifting) and look for throws or scarves for this vibe. Or just use a table cloth and cover the whole table, like normal people. I decided not to because I love my wood table! I love the worn parts of it. It’s where my family eats, countless homework hours and projects have been done on it. Someday I might refinish it, but I’m feeling too nostalgic for now, lol
IMPORTANT side note: Set your table up the day before, if at all possible, so you can cook and prepare food the day of. I always do mine the night before, that’s why most of the following pictures are at night. With the last ones taken the day of.
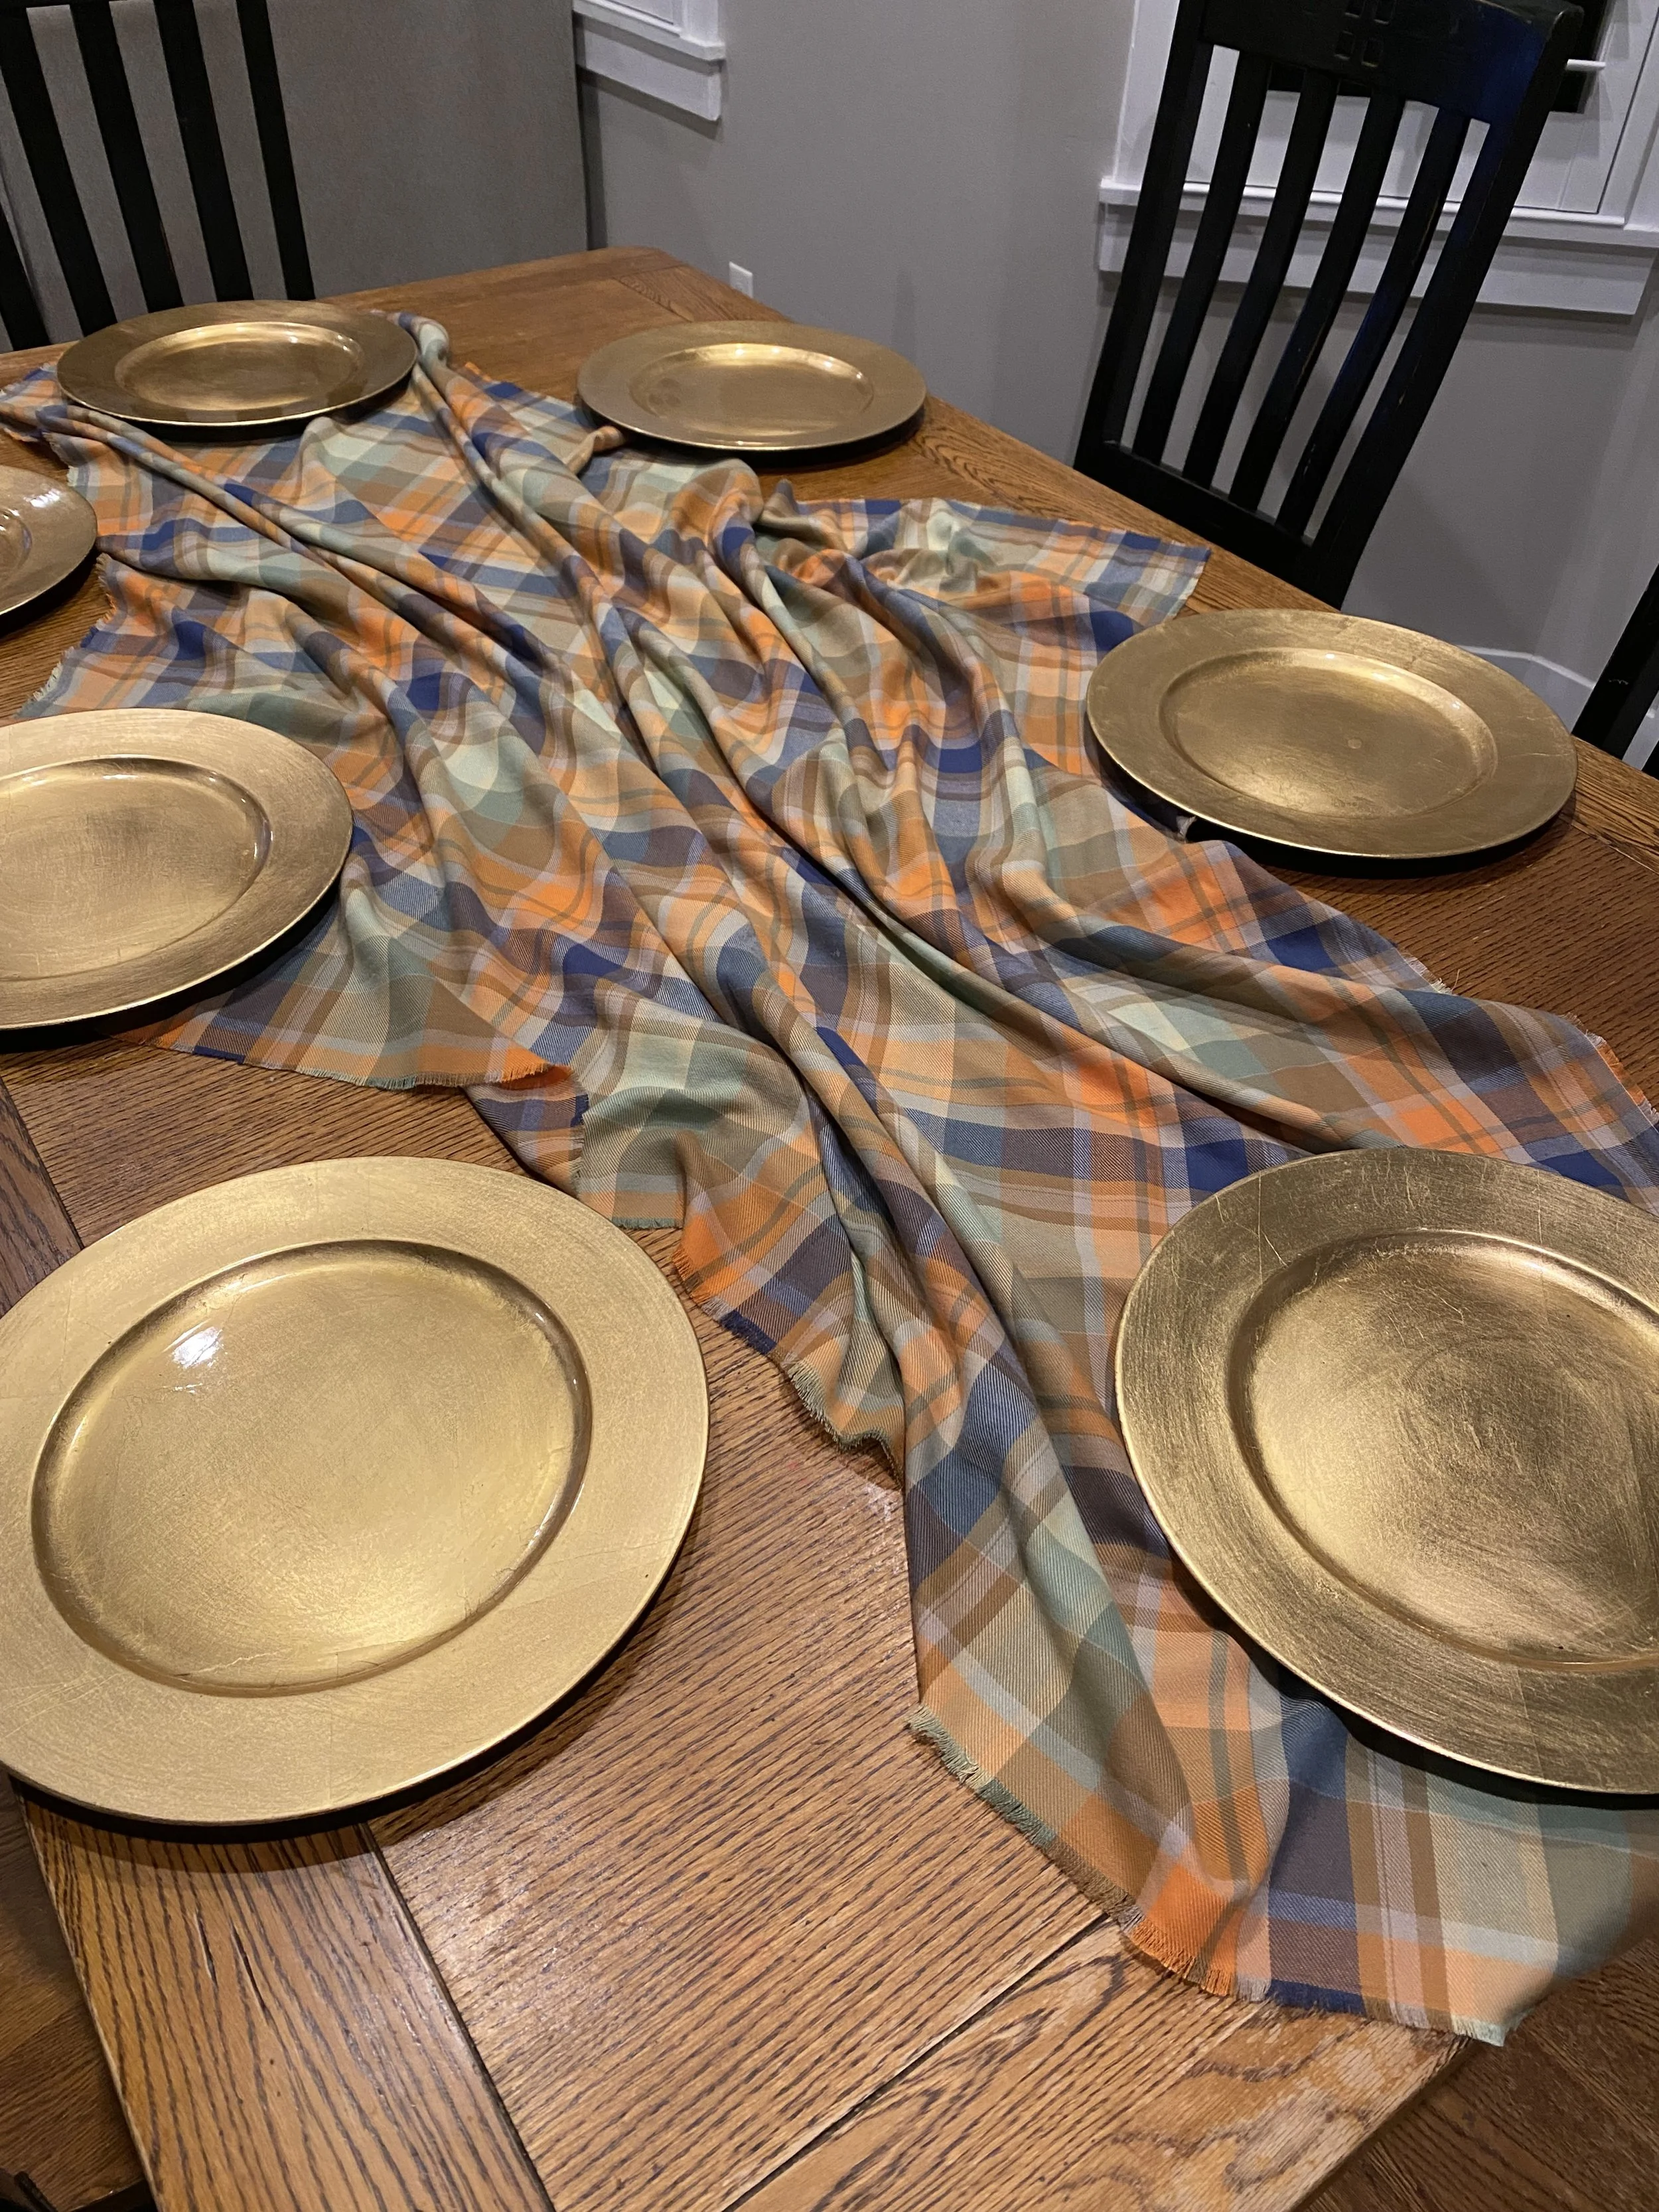
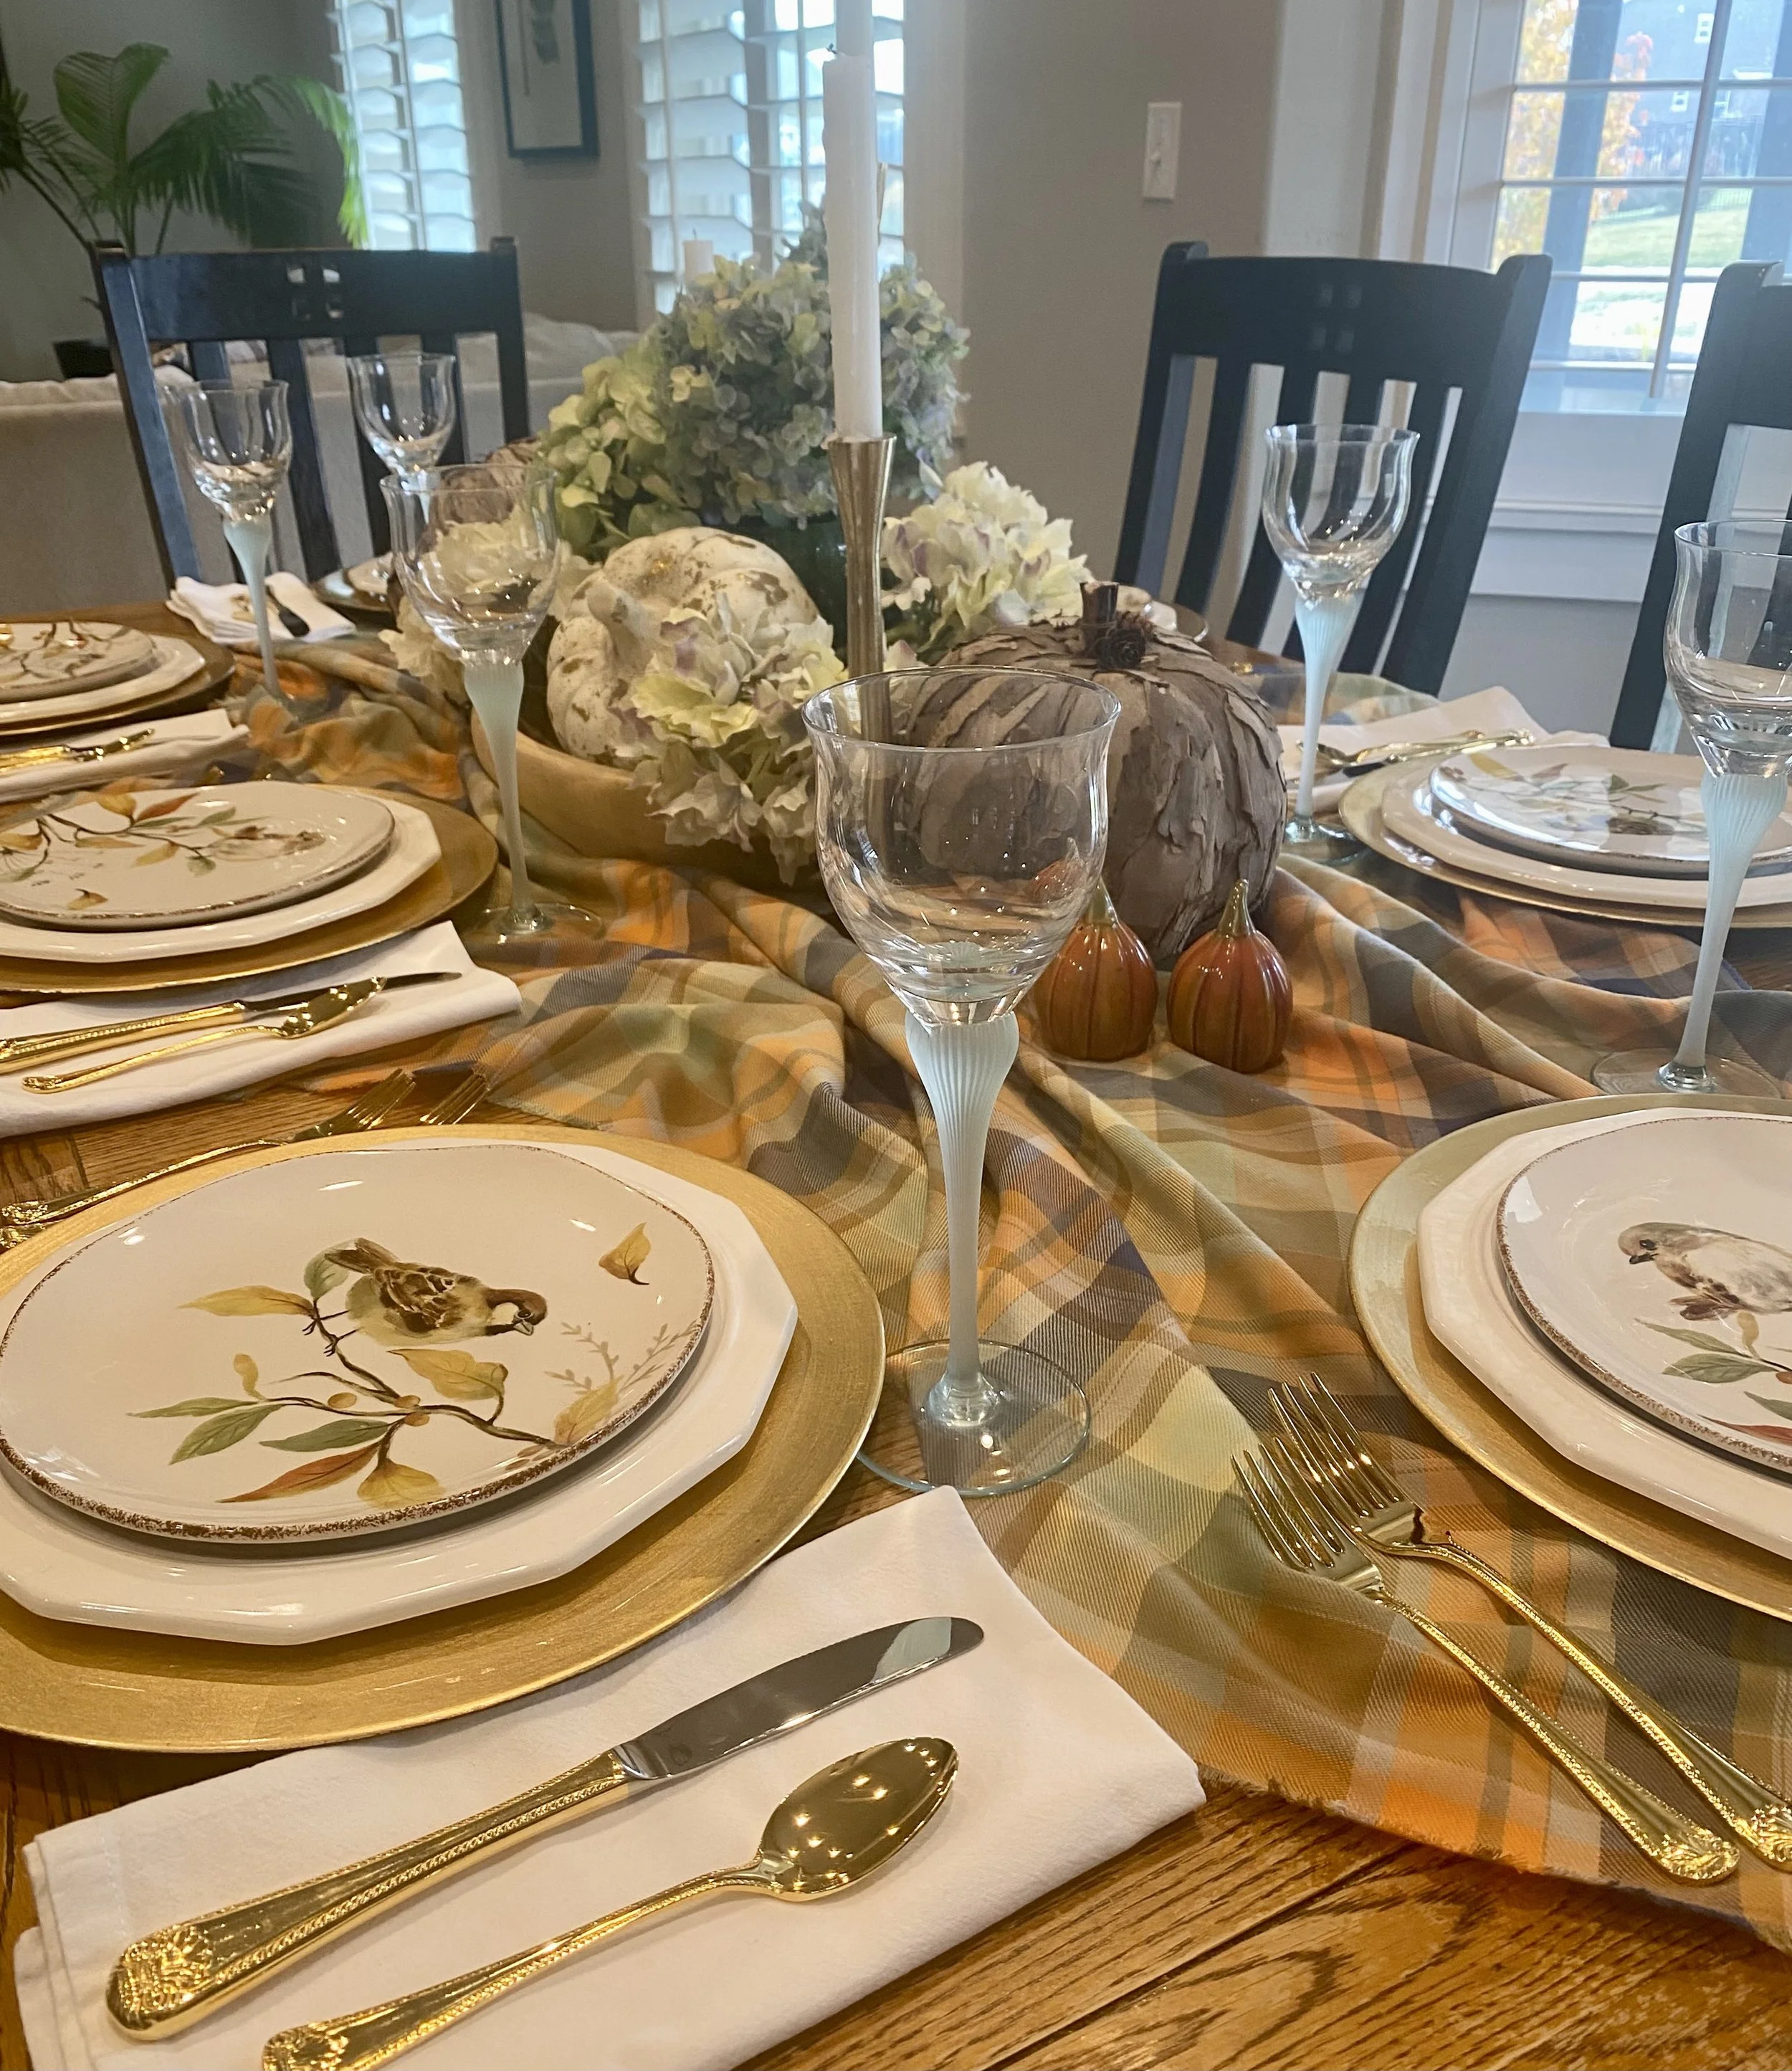
Step 3- Layering the Place Settings!
You totally don’t have to do this step, but I like a placemat or charger under my plates. I liked the gold color with the fabric, the colors blend well.
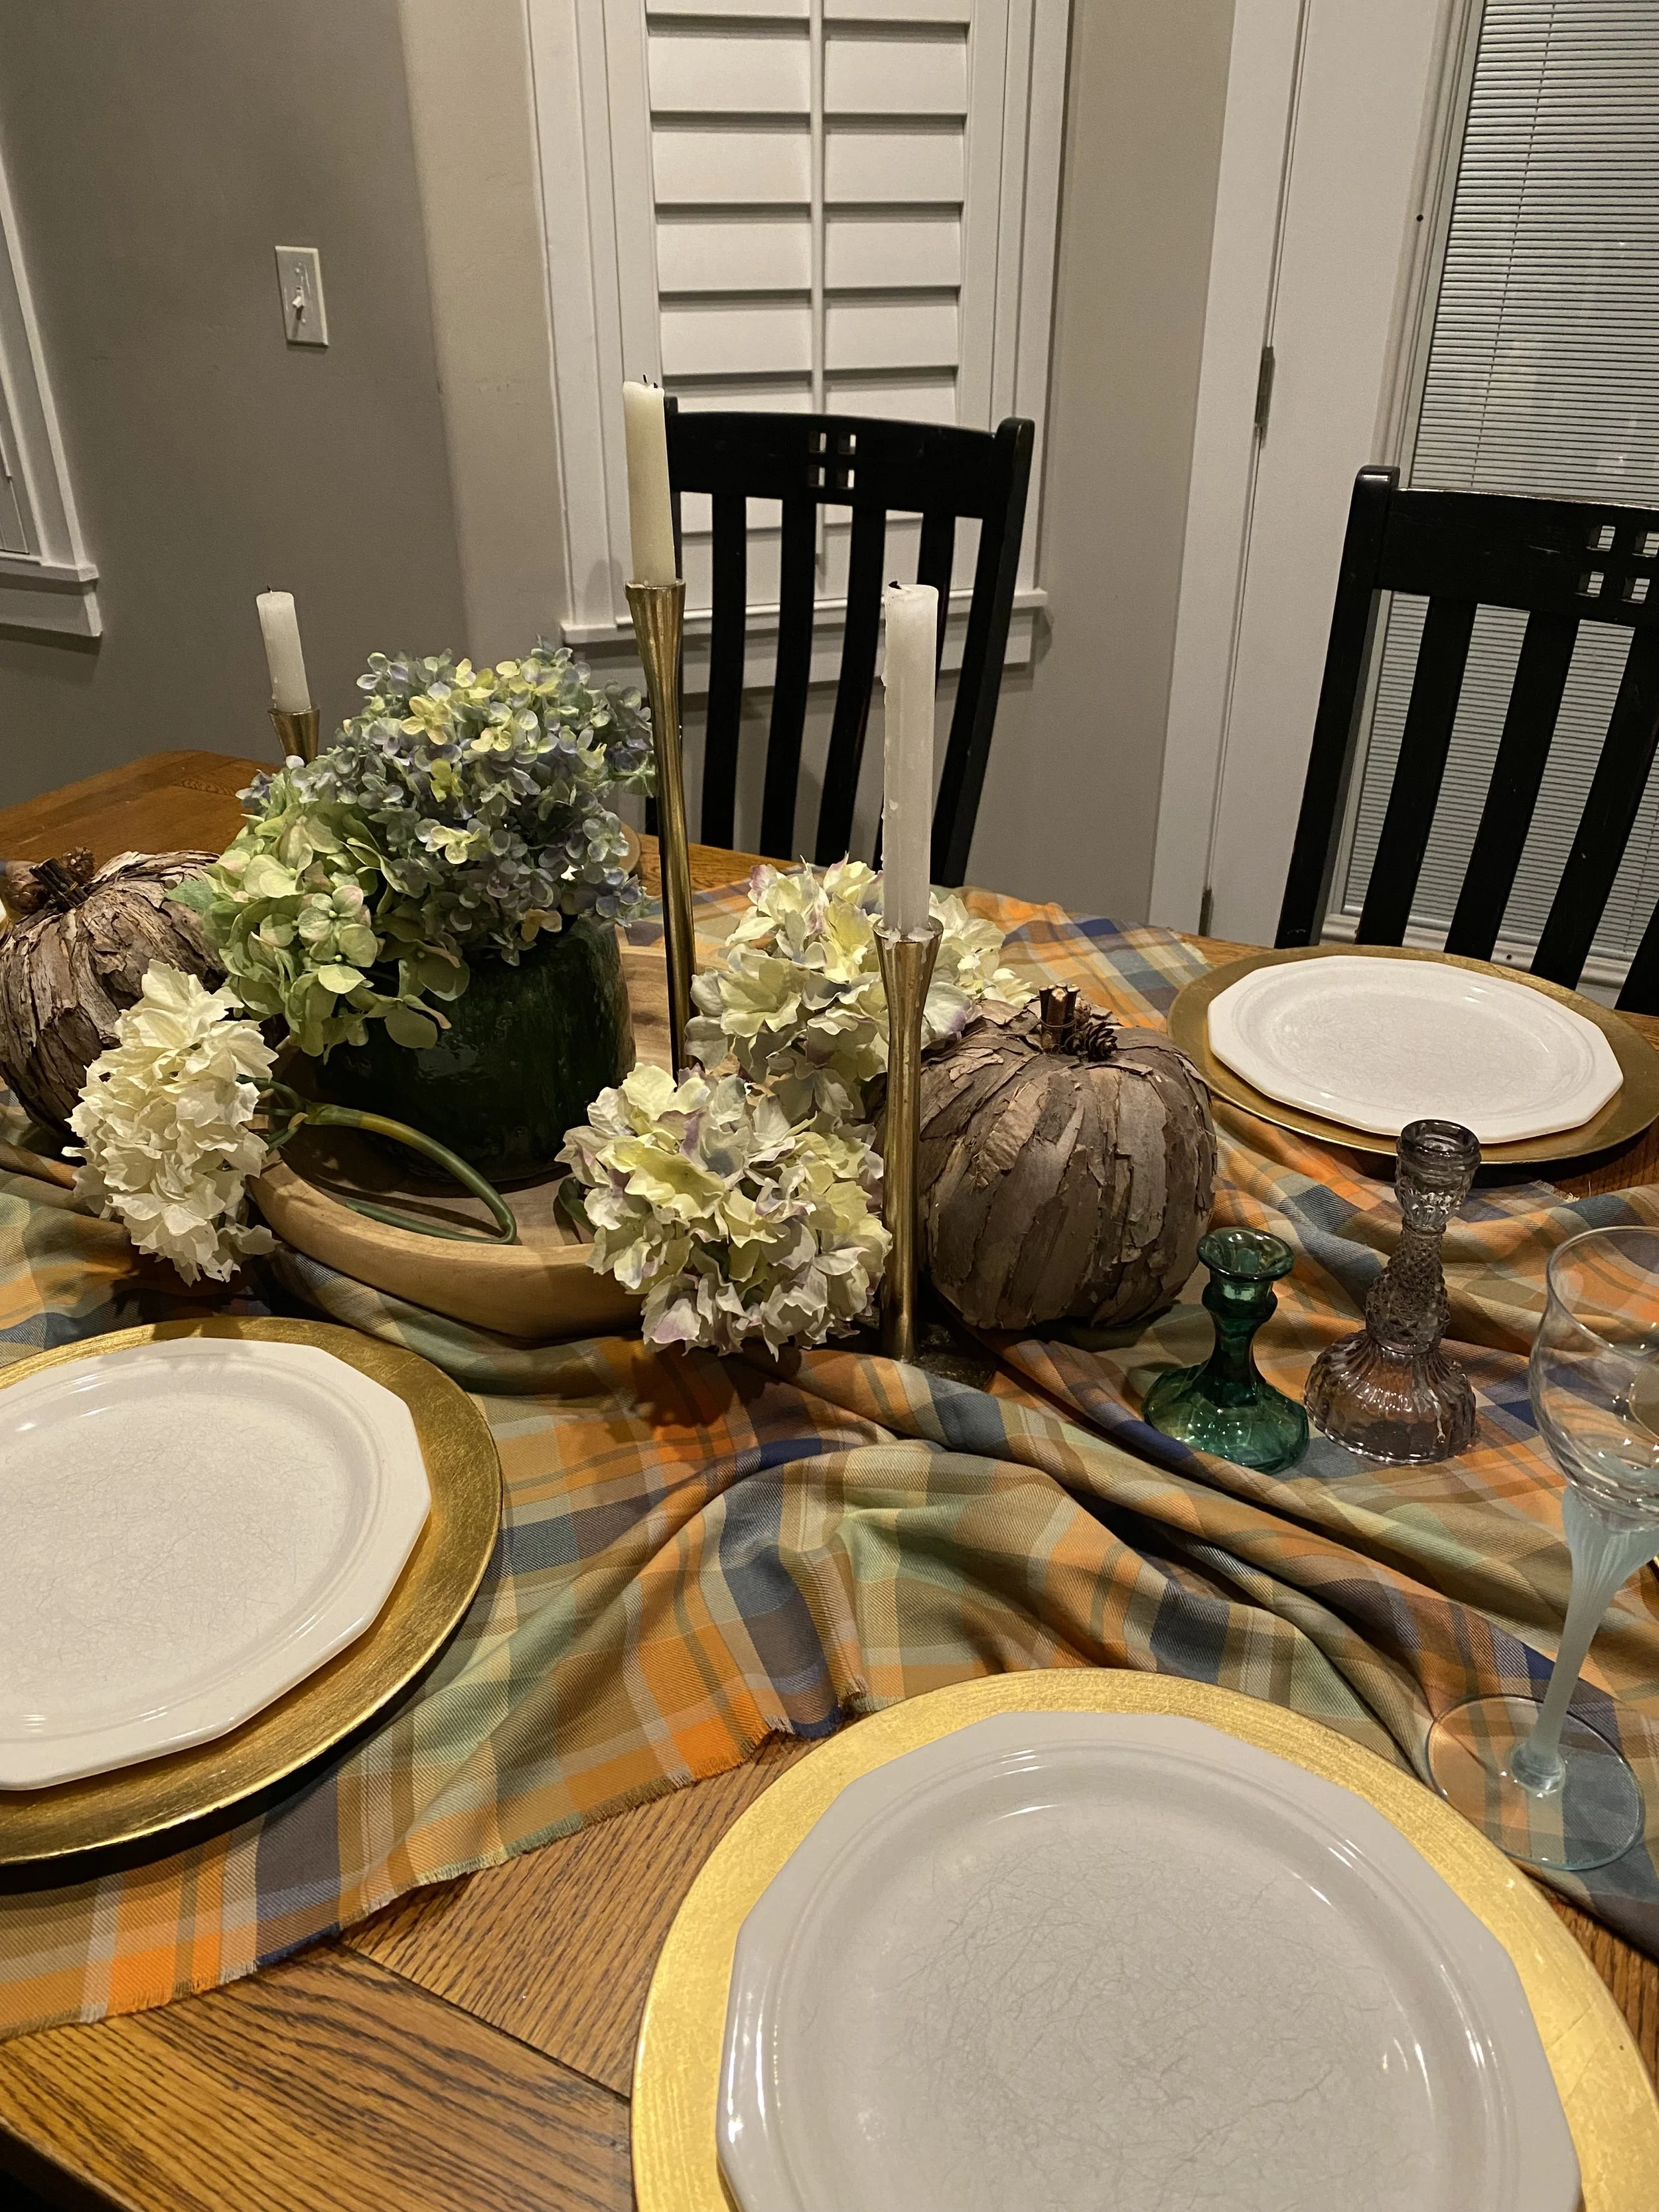
Working on a centerpiece for the table
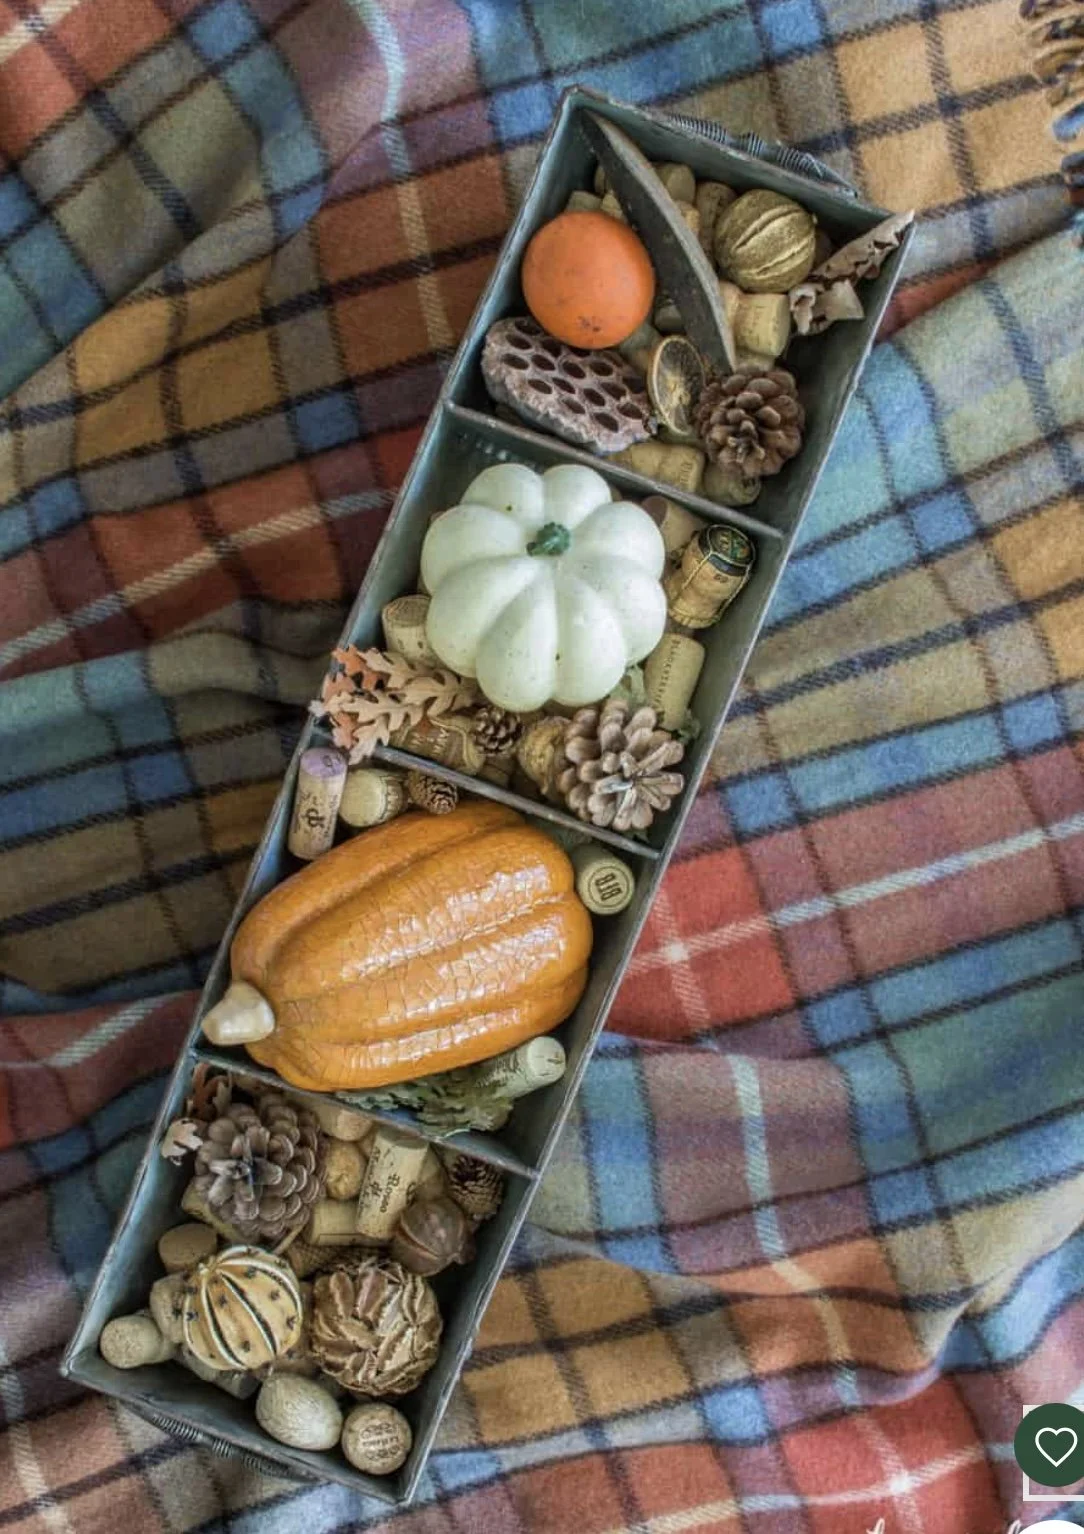
Step 4- Start your Centerpiece!
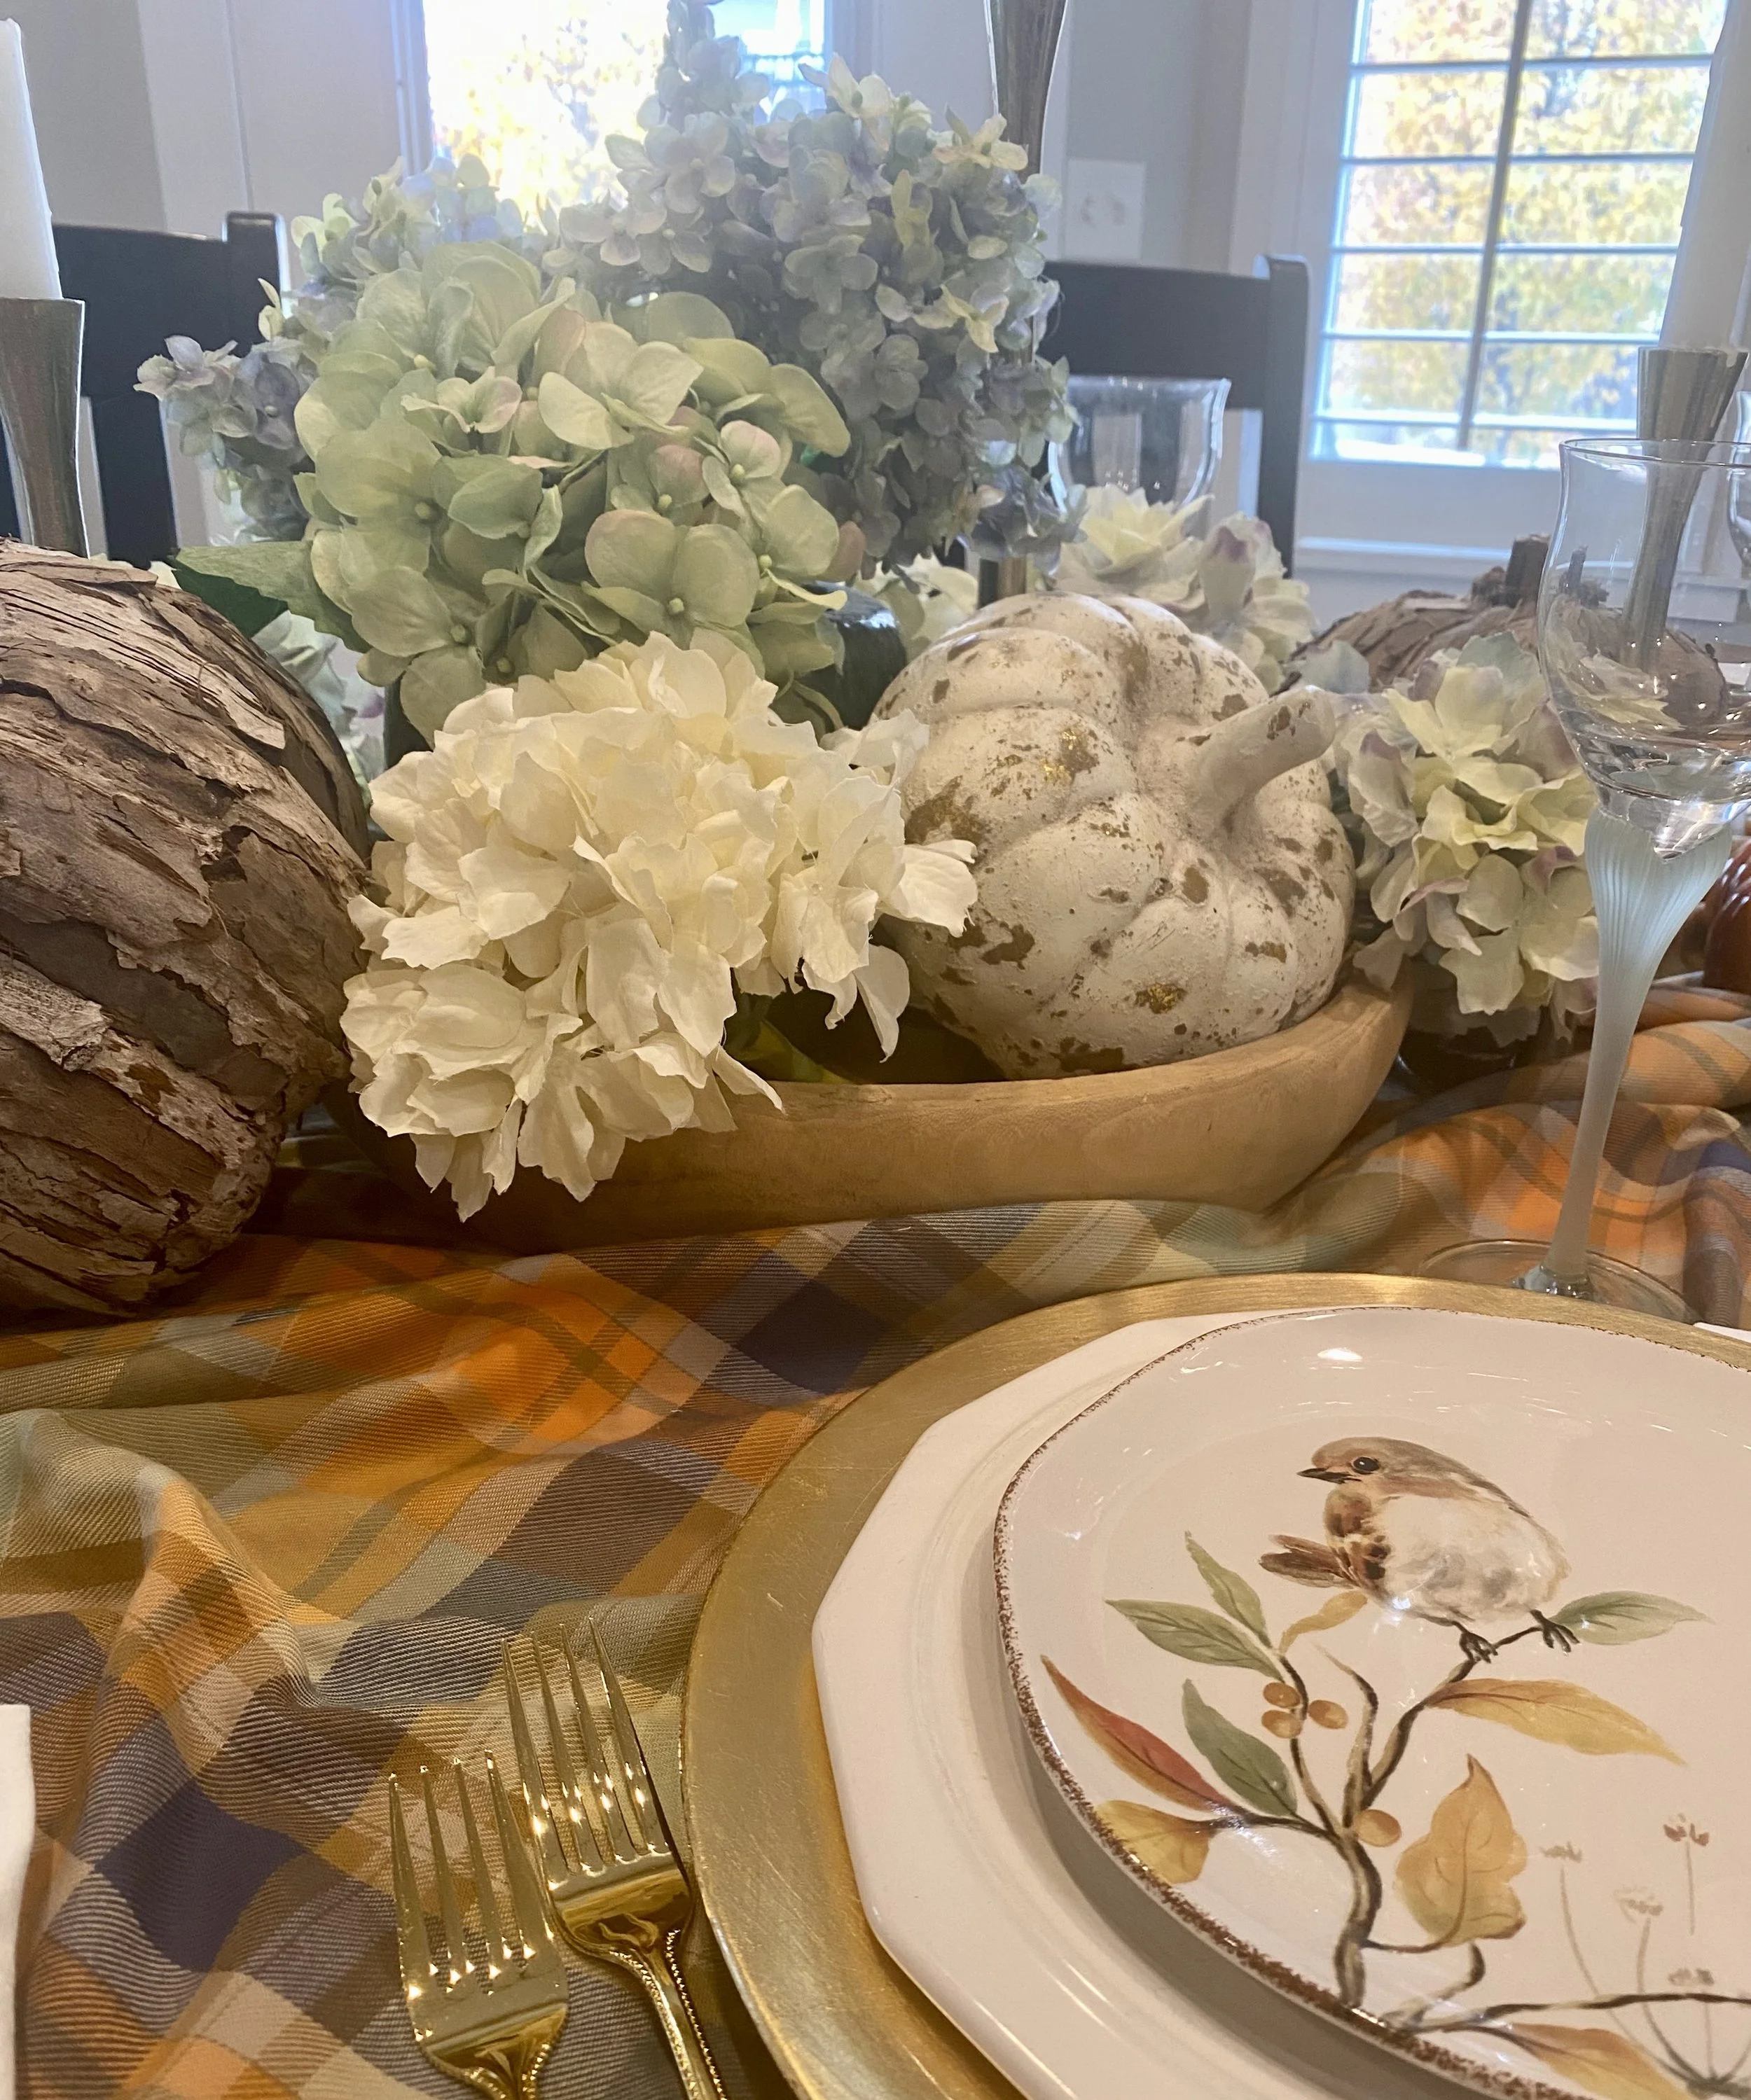
At this point, I start looking around my house, at the fall items I have up, or other stuff I’m storing. I love this wooden bowl with the flannel, and the green pot with hydrangea’s goes well with the color in the fabric. The fabric is going to dictate how this table is styled.
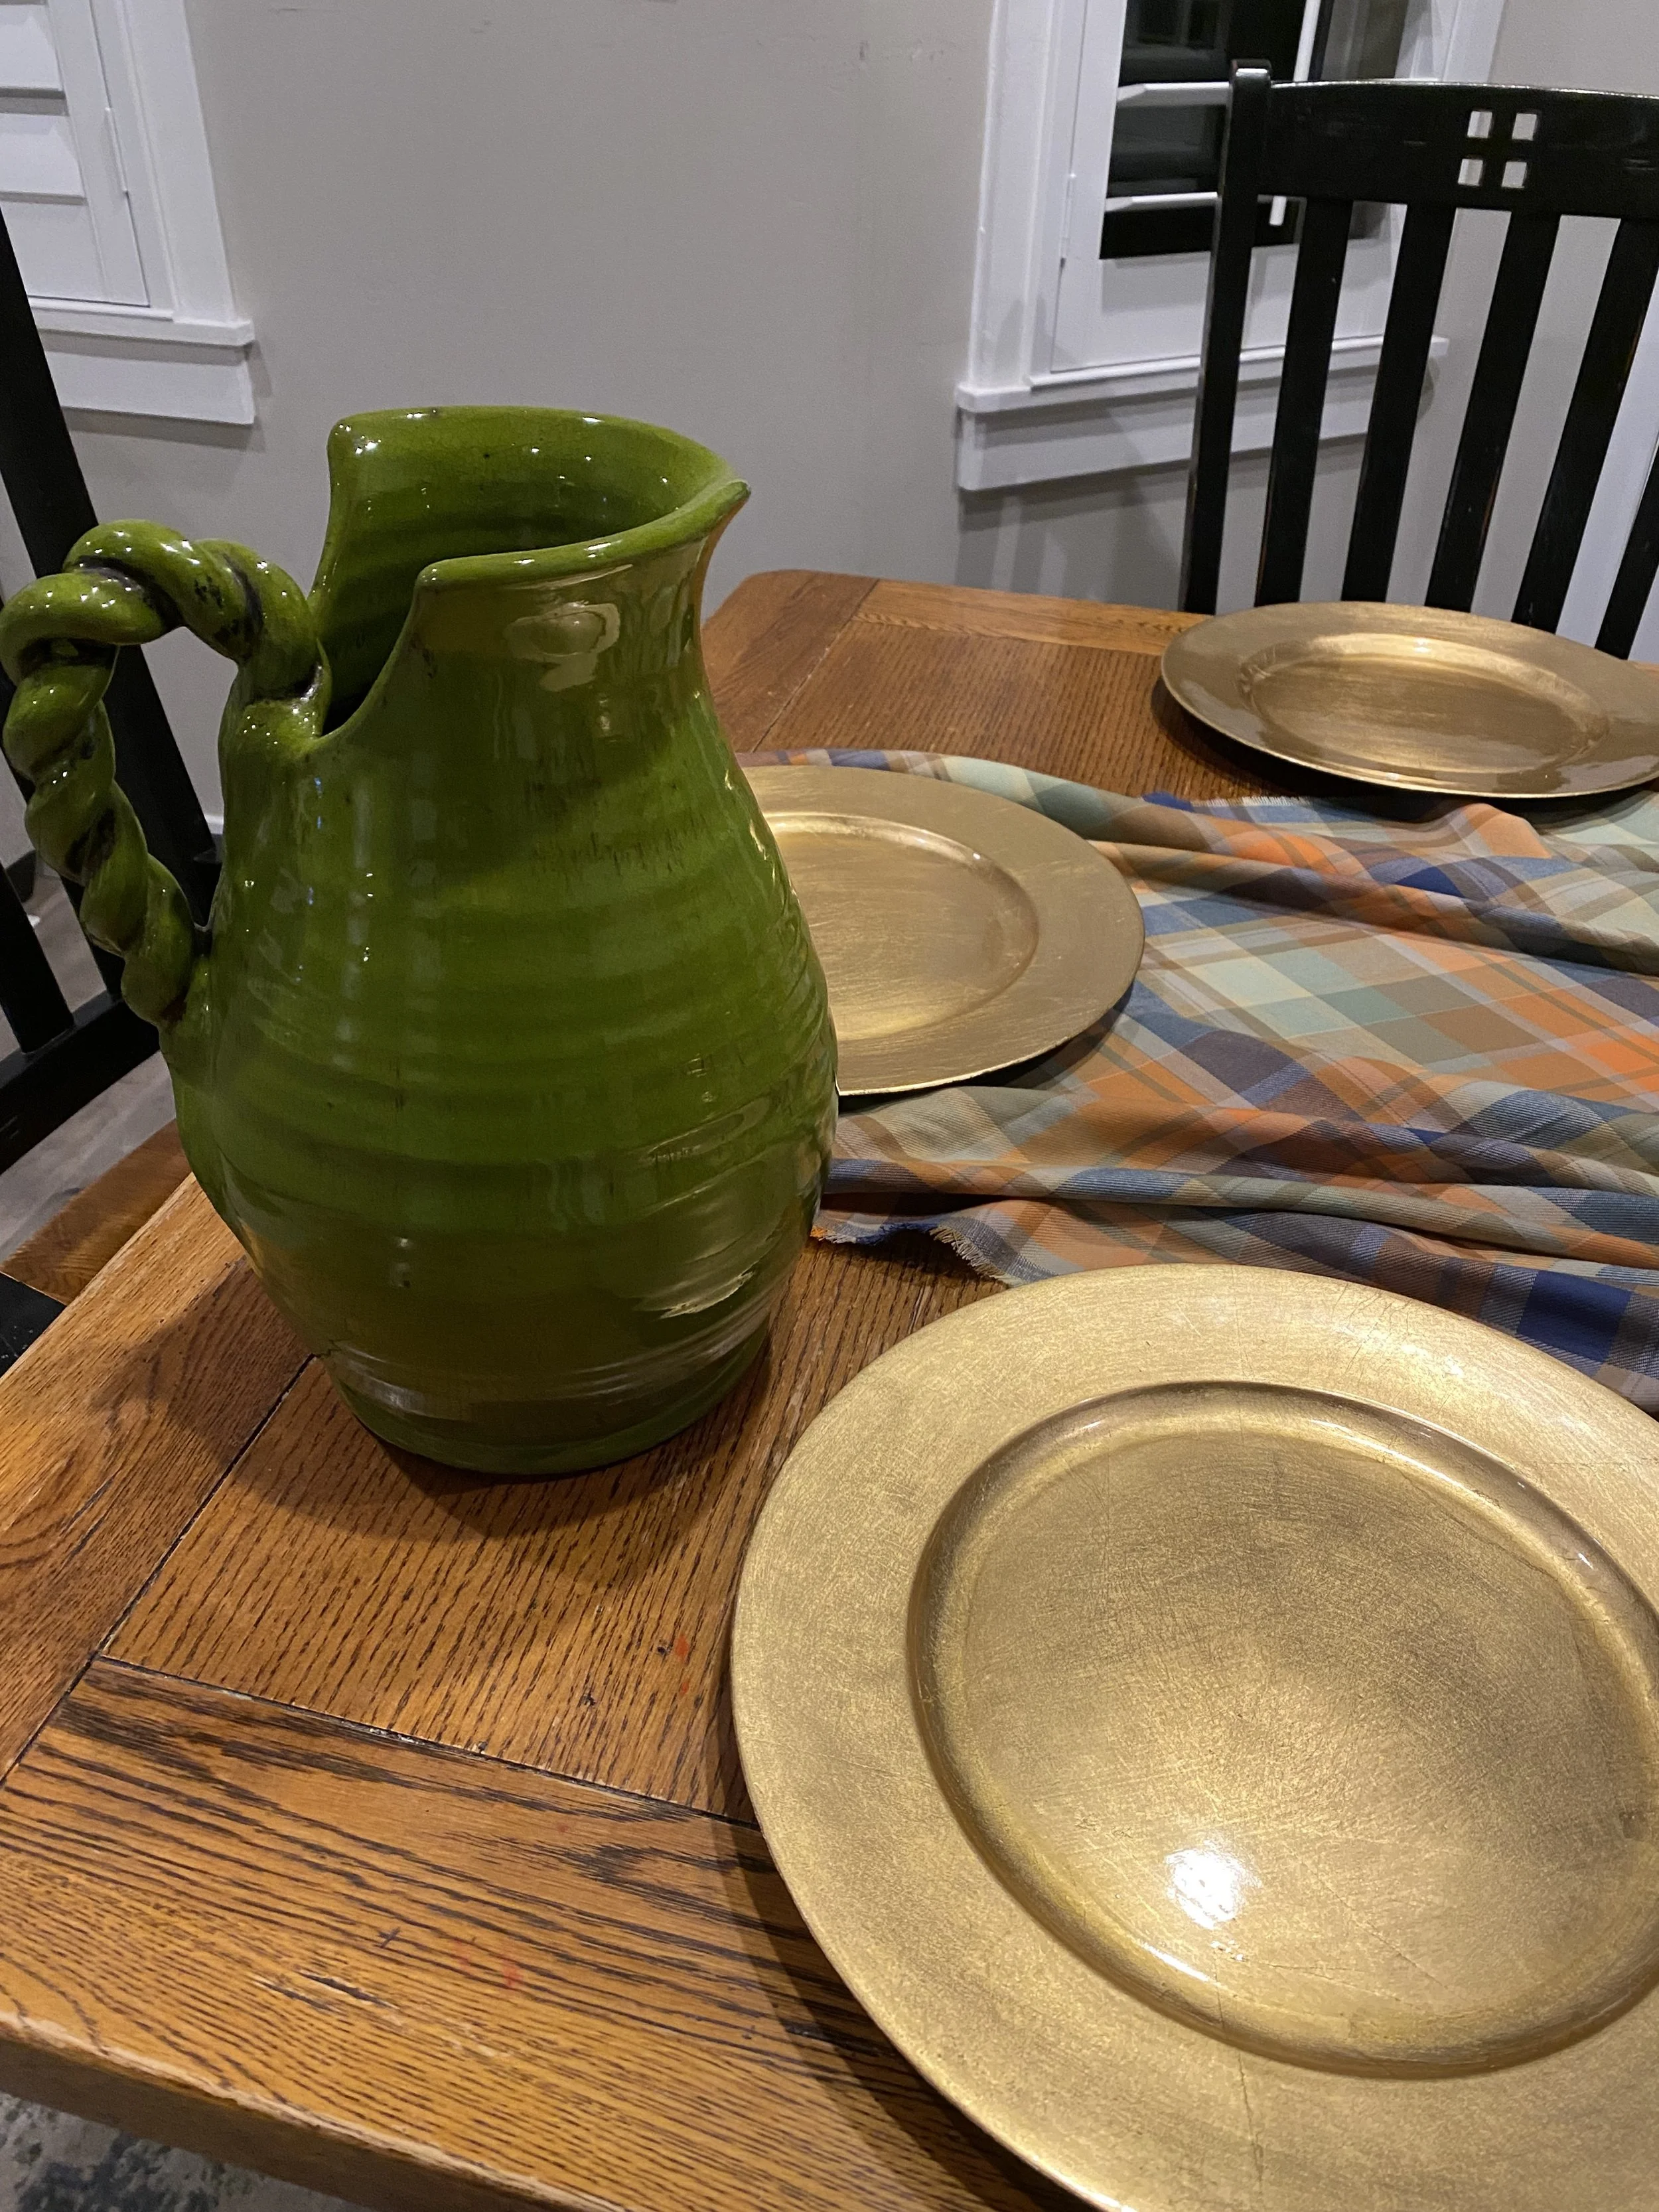
Green jug does not match!
Step 5- Try different items!
I had this green jug in my entry with fall stems in it, but when I put it with the fabric, it didn’t blend, so back it goes!
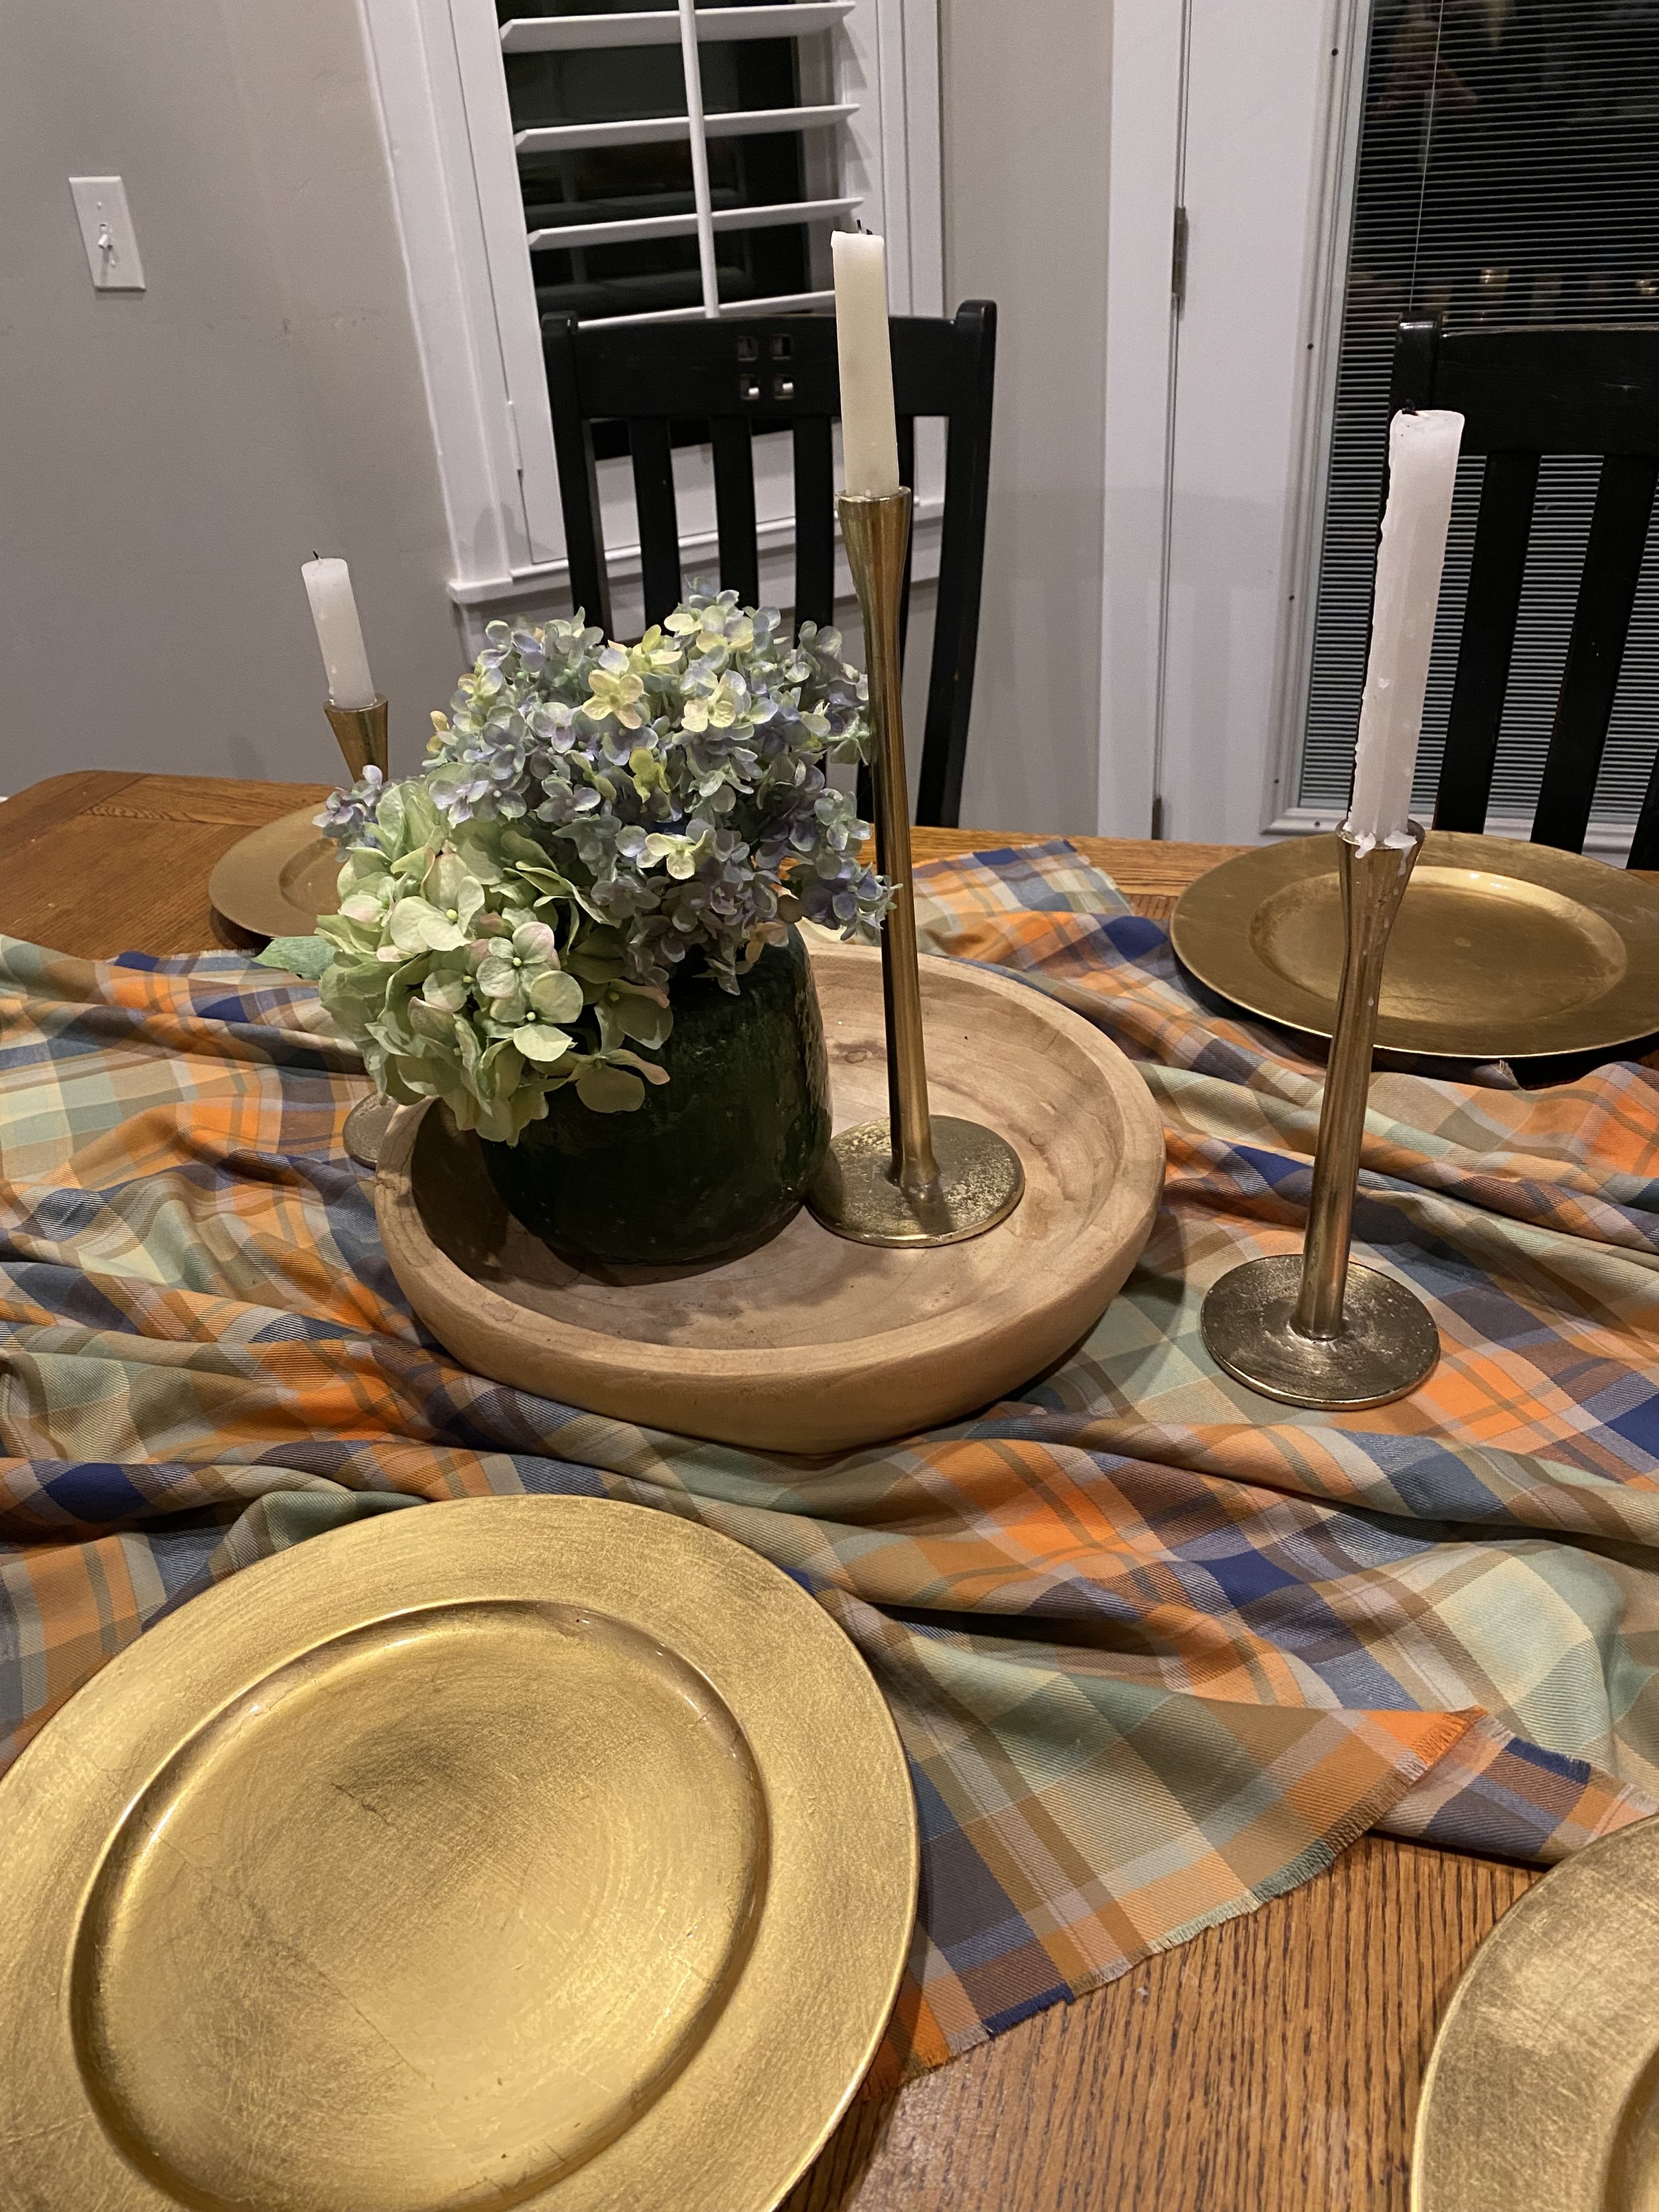
Love the Gold Candlesticks
Step 6- Keep Playing with it!
I did want some candles and these gold ones are great. I’m even going to keep my half burnt candles, I like fancy, but I’m not so fancy that I need new ones, lol
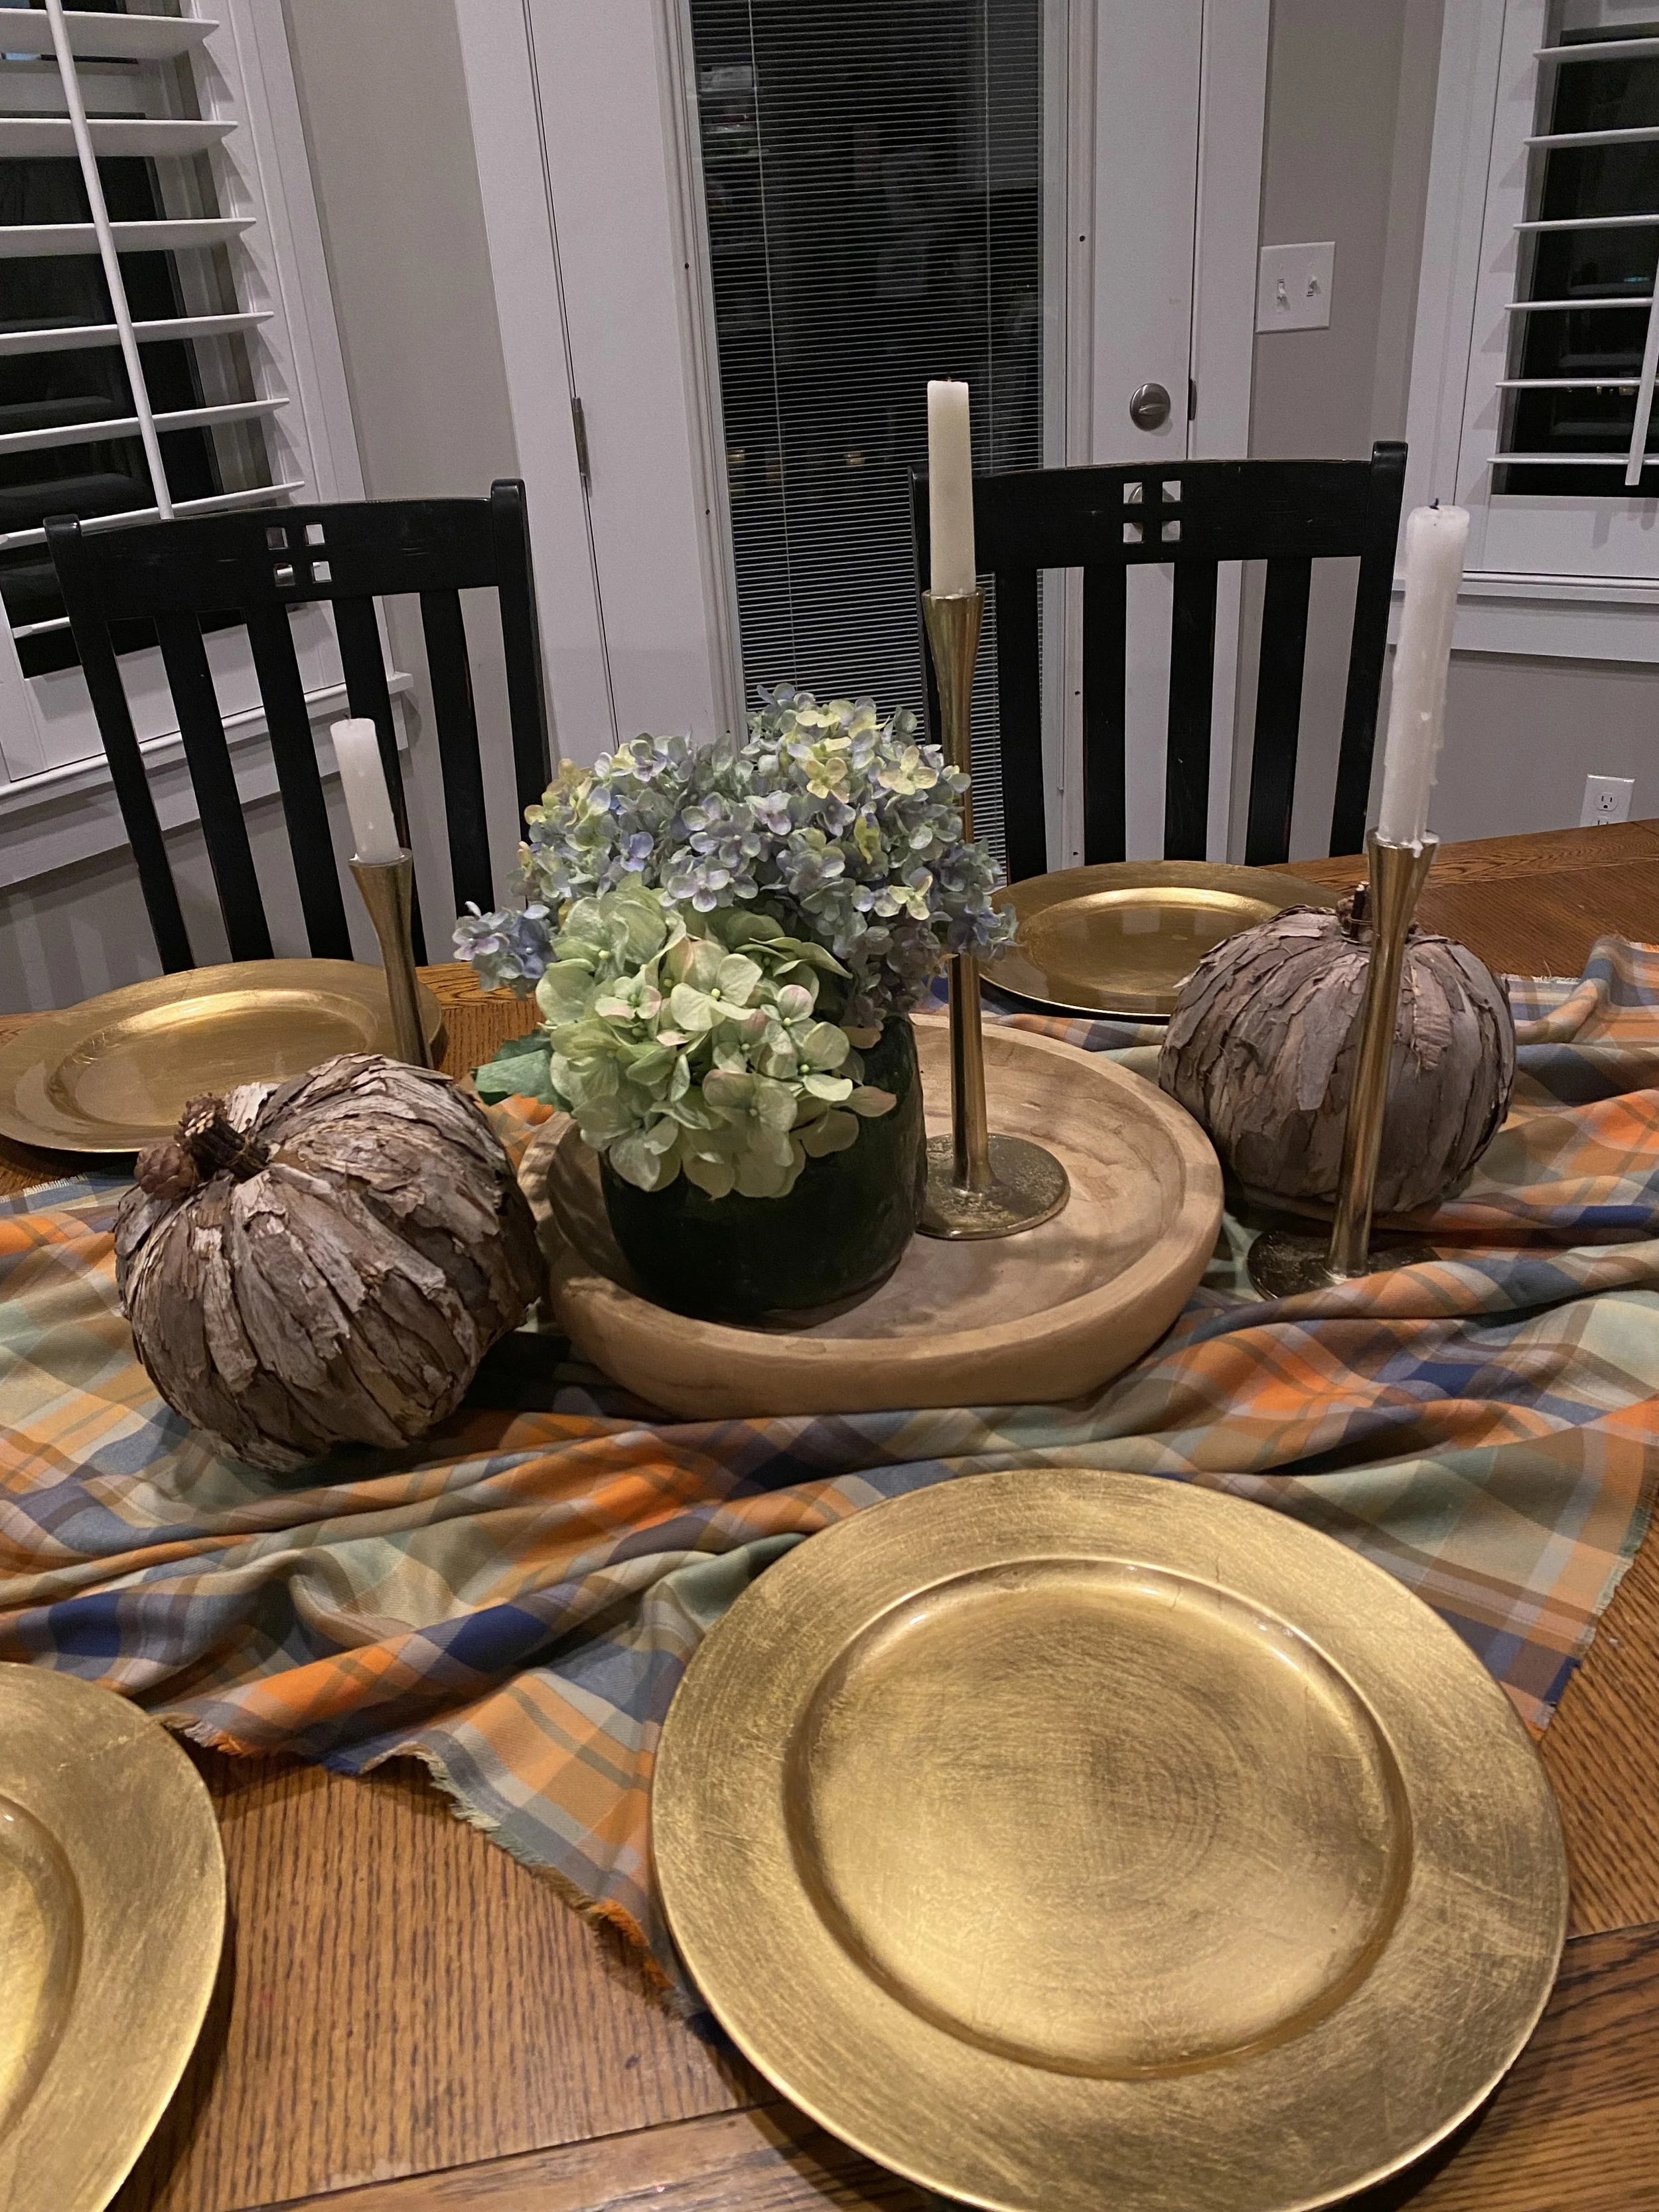
Adding in Wooden Pumpkins
Still messing around with the centerpiece. But I do like these wood pumpkins I got from Crate and Barrel a couple of years ago. I know the centerpiece isn’t done, but I’m going to go to the place settings now, it’ll help me know where to take the centerpiece.
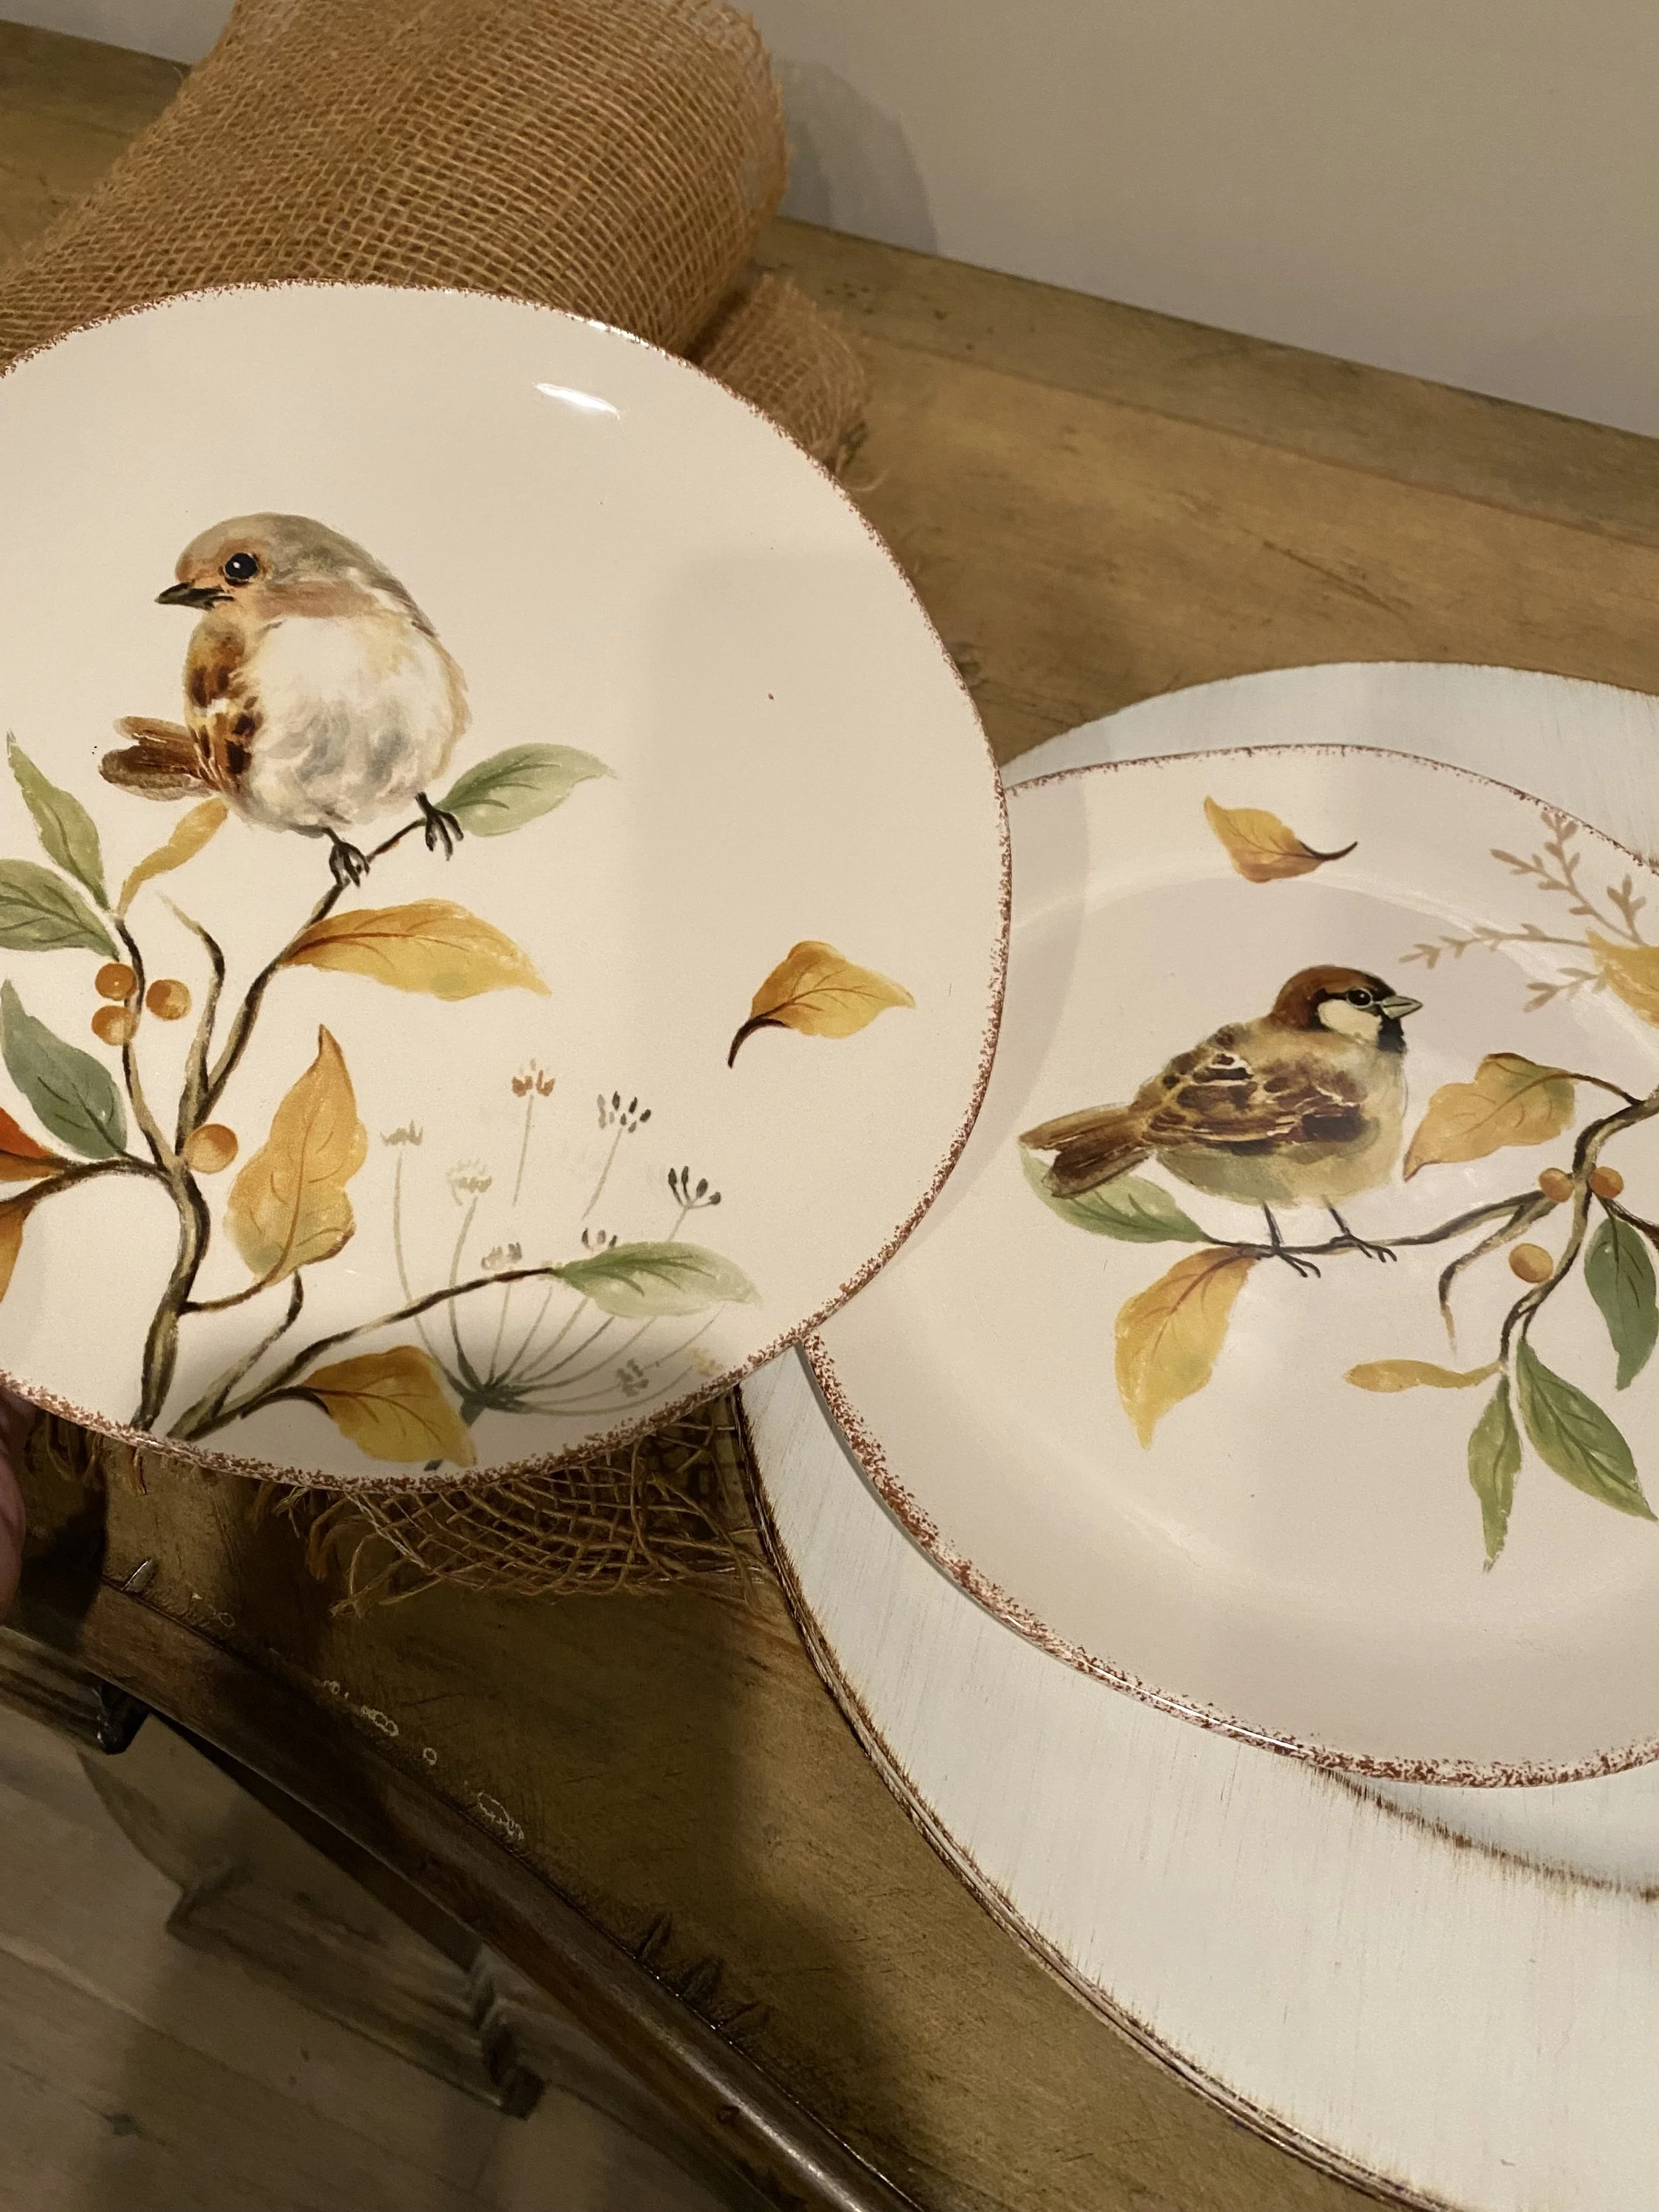
Adorable Bird Plates
Step 7- Adding your plates!
I was hoping to use these stinking cute bird salad plates that I got from Hobby Lobby last year after Thanksgiving. I have basic white plates that I use a lot, and then I just stack the salad or dessert plates on top to bougie it up a bit! That way I don’t have to store a bunch of big dinner plates. But I do have stacks of salad plates stashed all over my kitchen (the hubs hates it, lol) When I bought the fabric, I forgot I had these plates, I’m so glad the colors worked with the fabric.
Having basic white plates are great to build on.
Here the basic white plates are on the chargers and I’m still deciding on the centerpiece. Also, I got out these beautiful light blue goblets I got when I was married a hundred years ago. I stored them for years in my basement (so they could stay safe and protected), finally I decided it’s better to use them, and chance them getting broken, to just sitting in a box! The color isn’t perfect for this, but blends in enough AND I love them. Also, I was seeing if I liked the green or gray candlesticks with the fabric, which I don’t, so back in the cupboard they go!
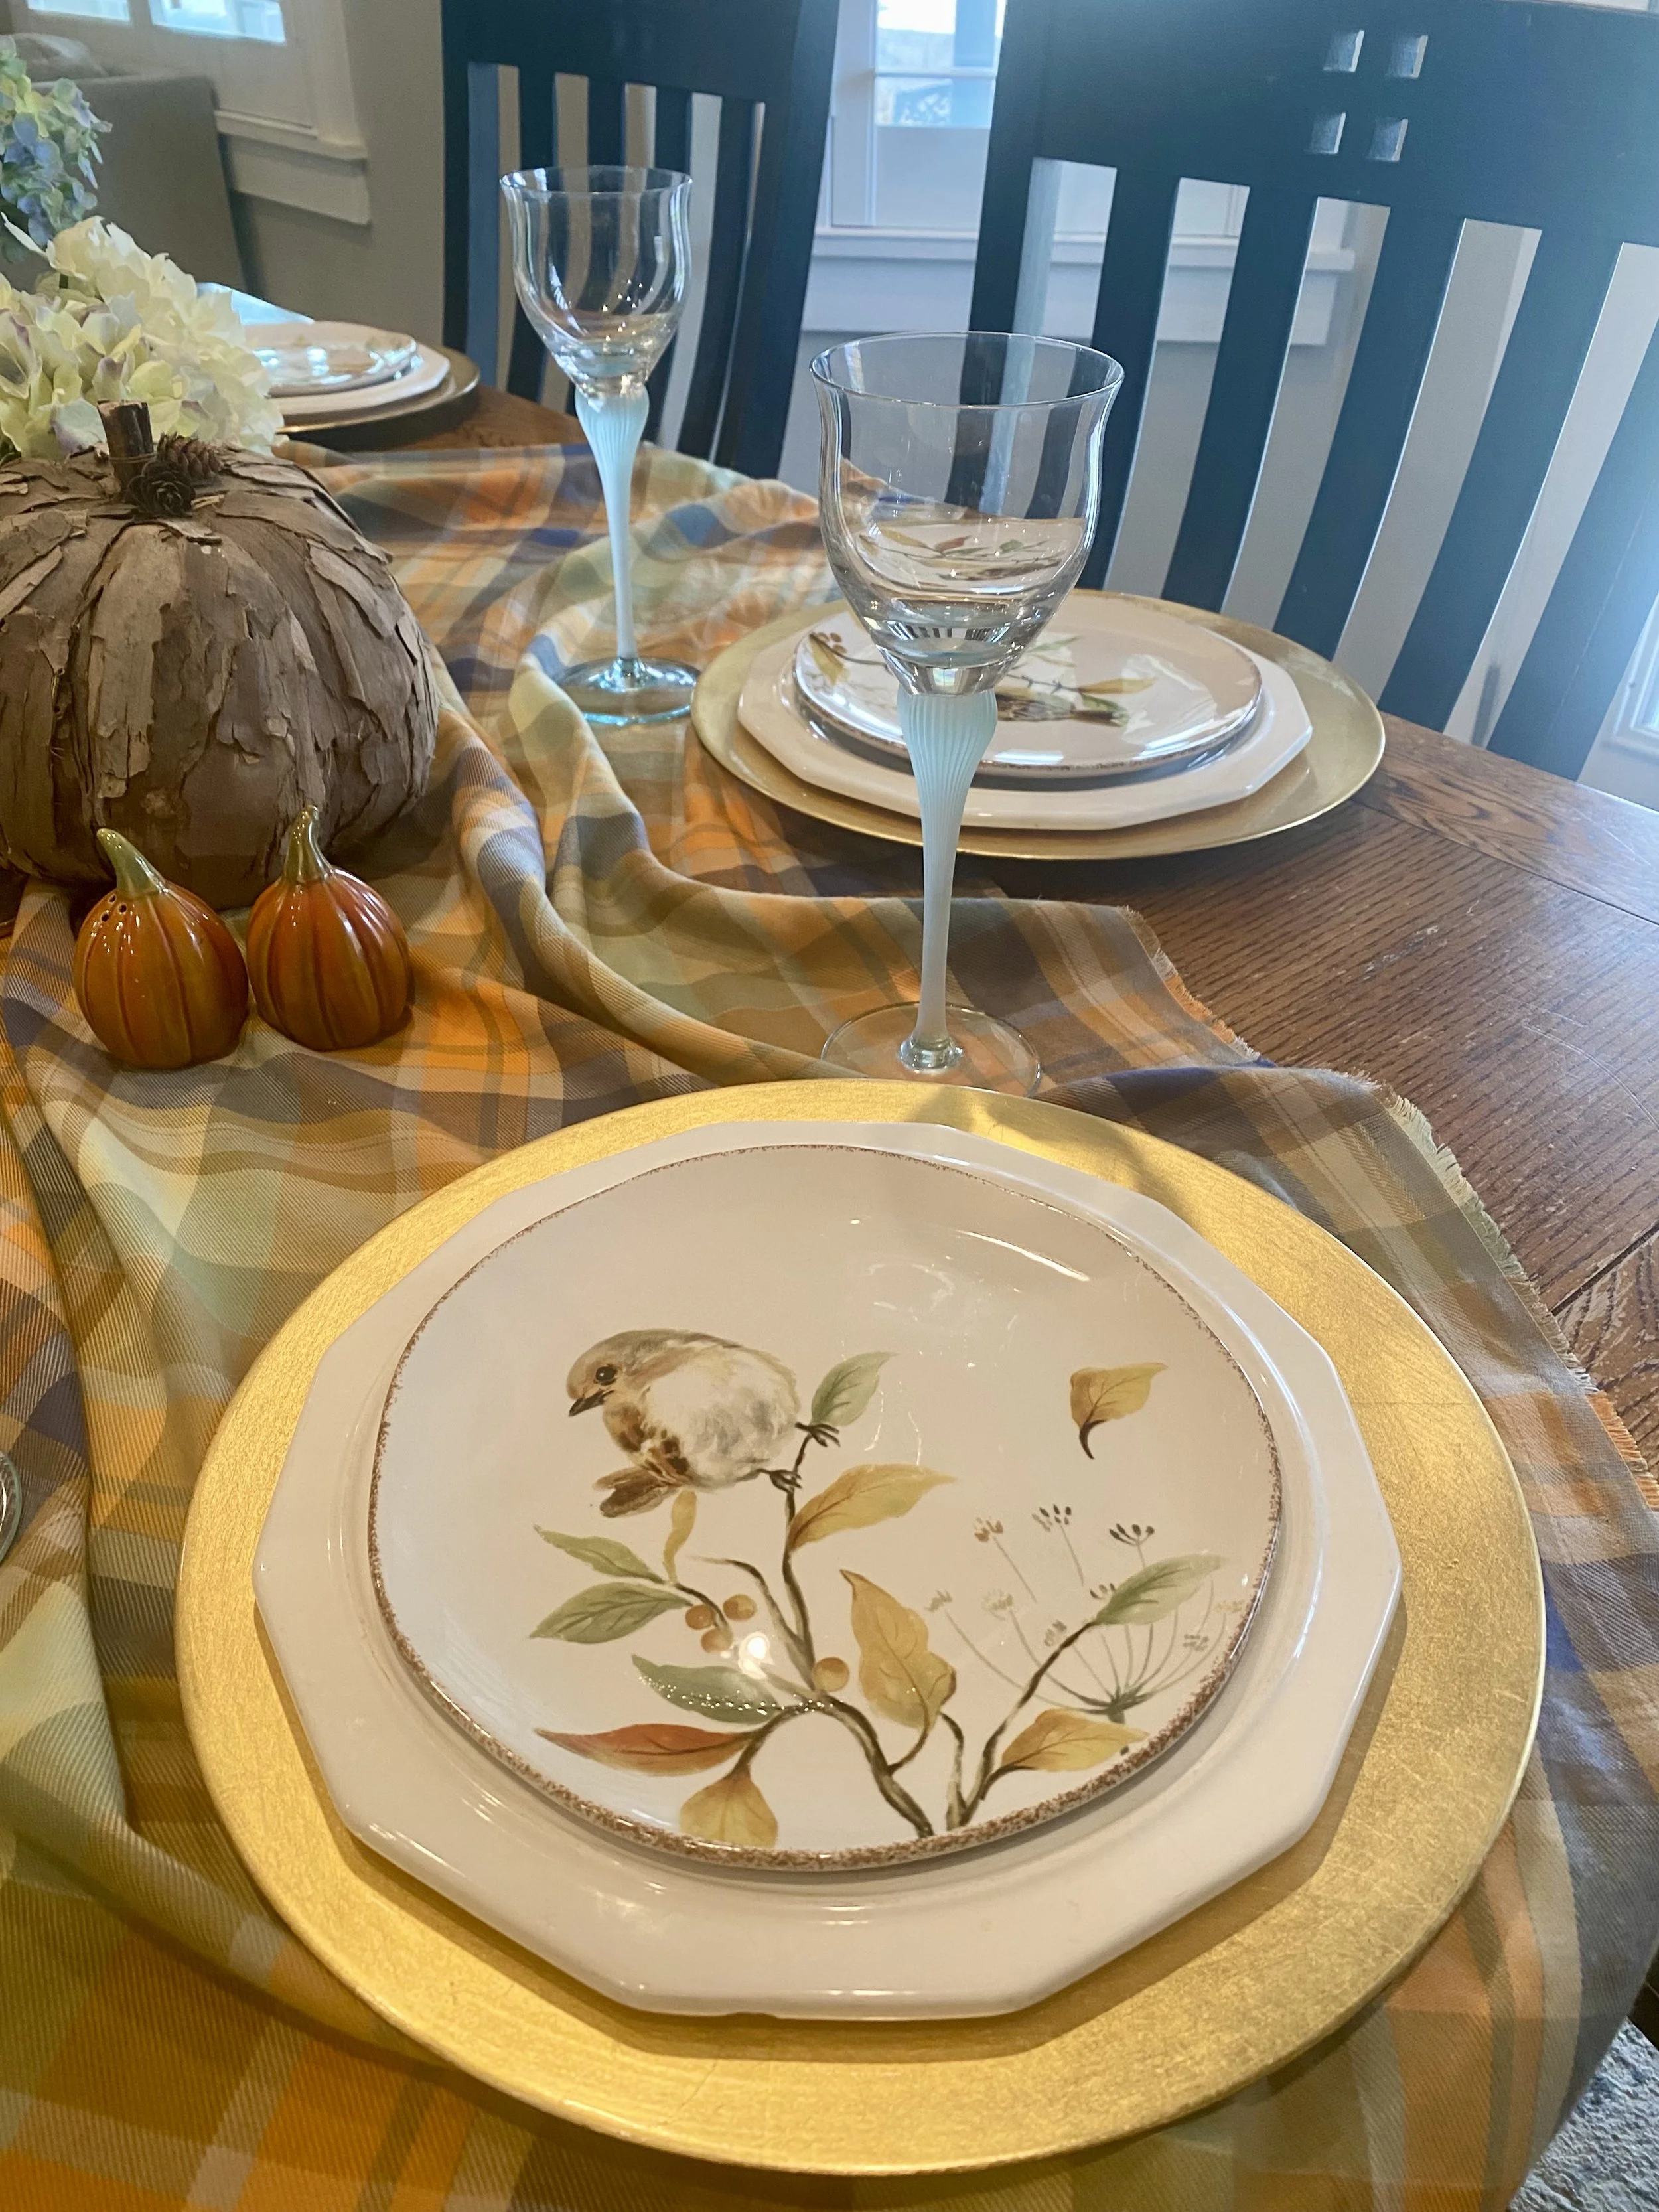
Adding the darling bird salad plates onto the basic white plates.
Step 8- Layering the Plates, Utensil, Napkins, Goblets!
Time to put your table setting together. If you have a dessert plate, you could put it on top of the salad plate or above the place setting.
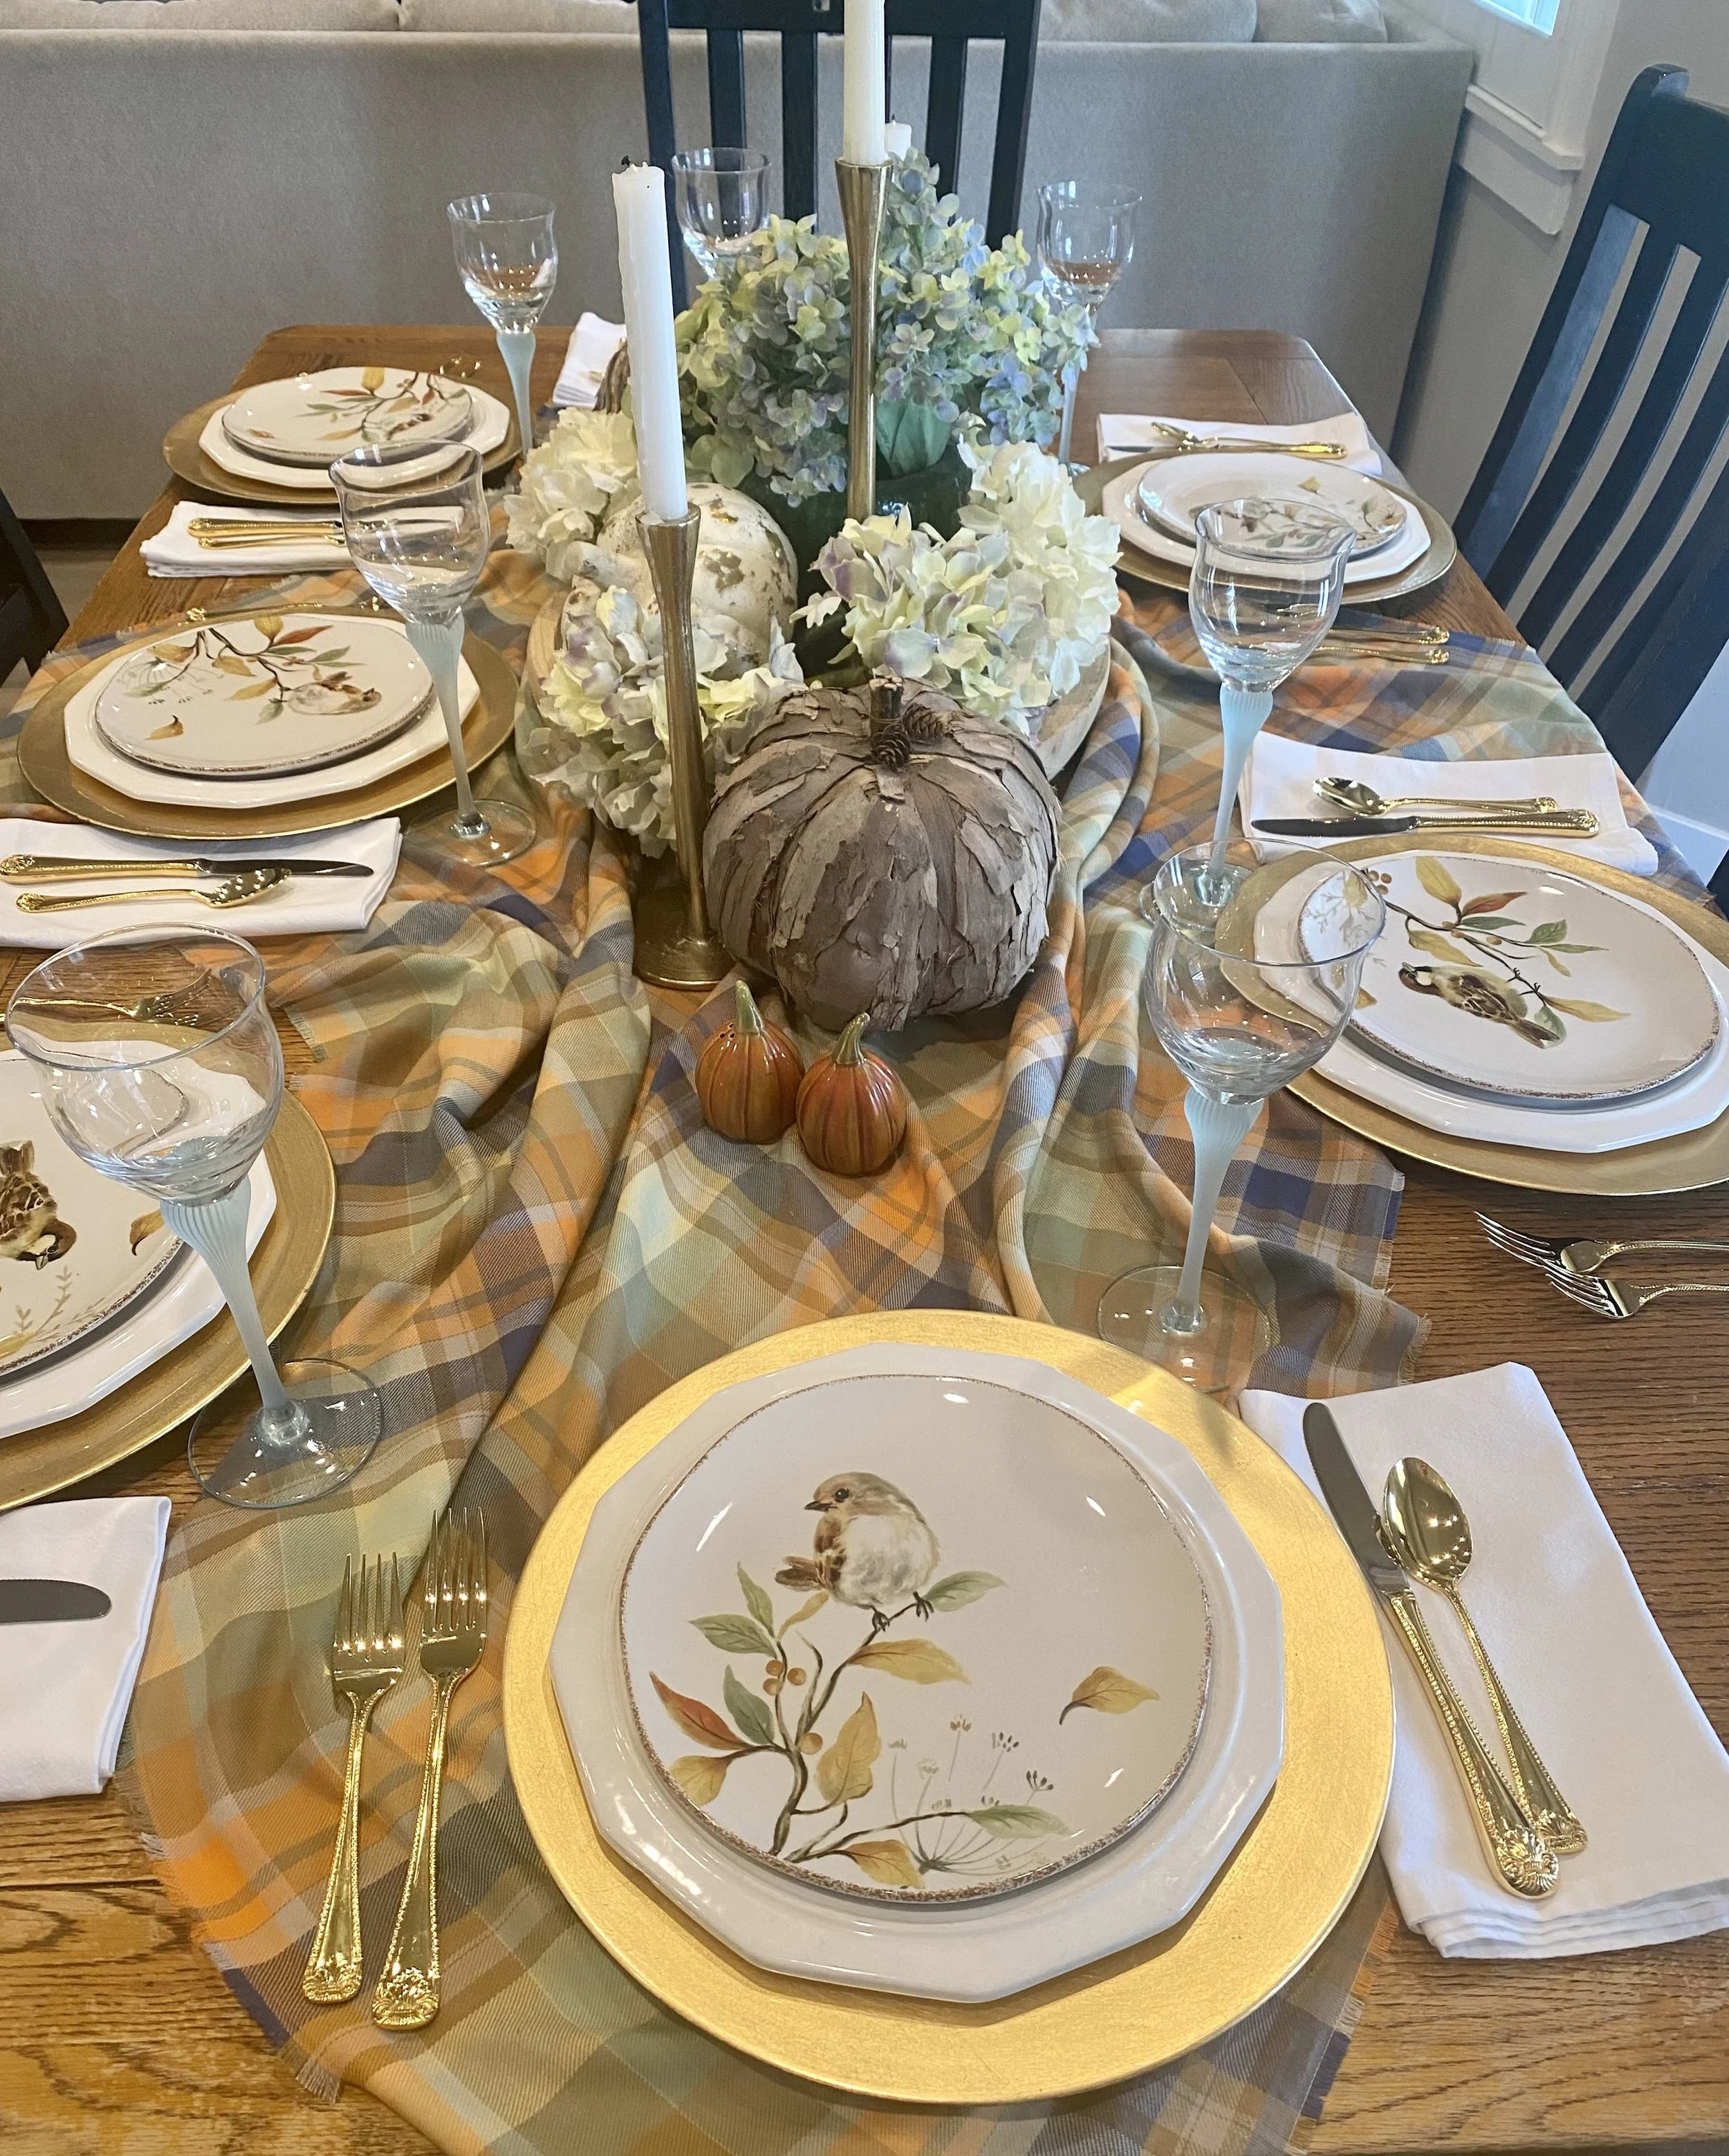
Fall Table Setting
Side note, along with the basic plates, I have this gorgeous gold flatware set that my mom gave me when we moved her to assisted living. I handwashed theses along side of my mom growing up and I’m still using them and handwashing them and they are still beautiful. Good memories! And they remind me of her, she loved entertaining. I do have a cheap set of silver toned flatware that I use when I want silver.
Close up of all the things!
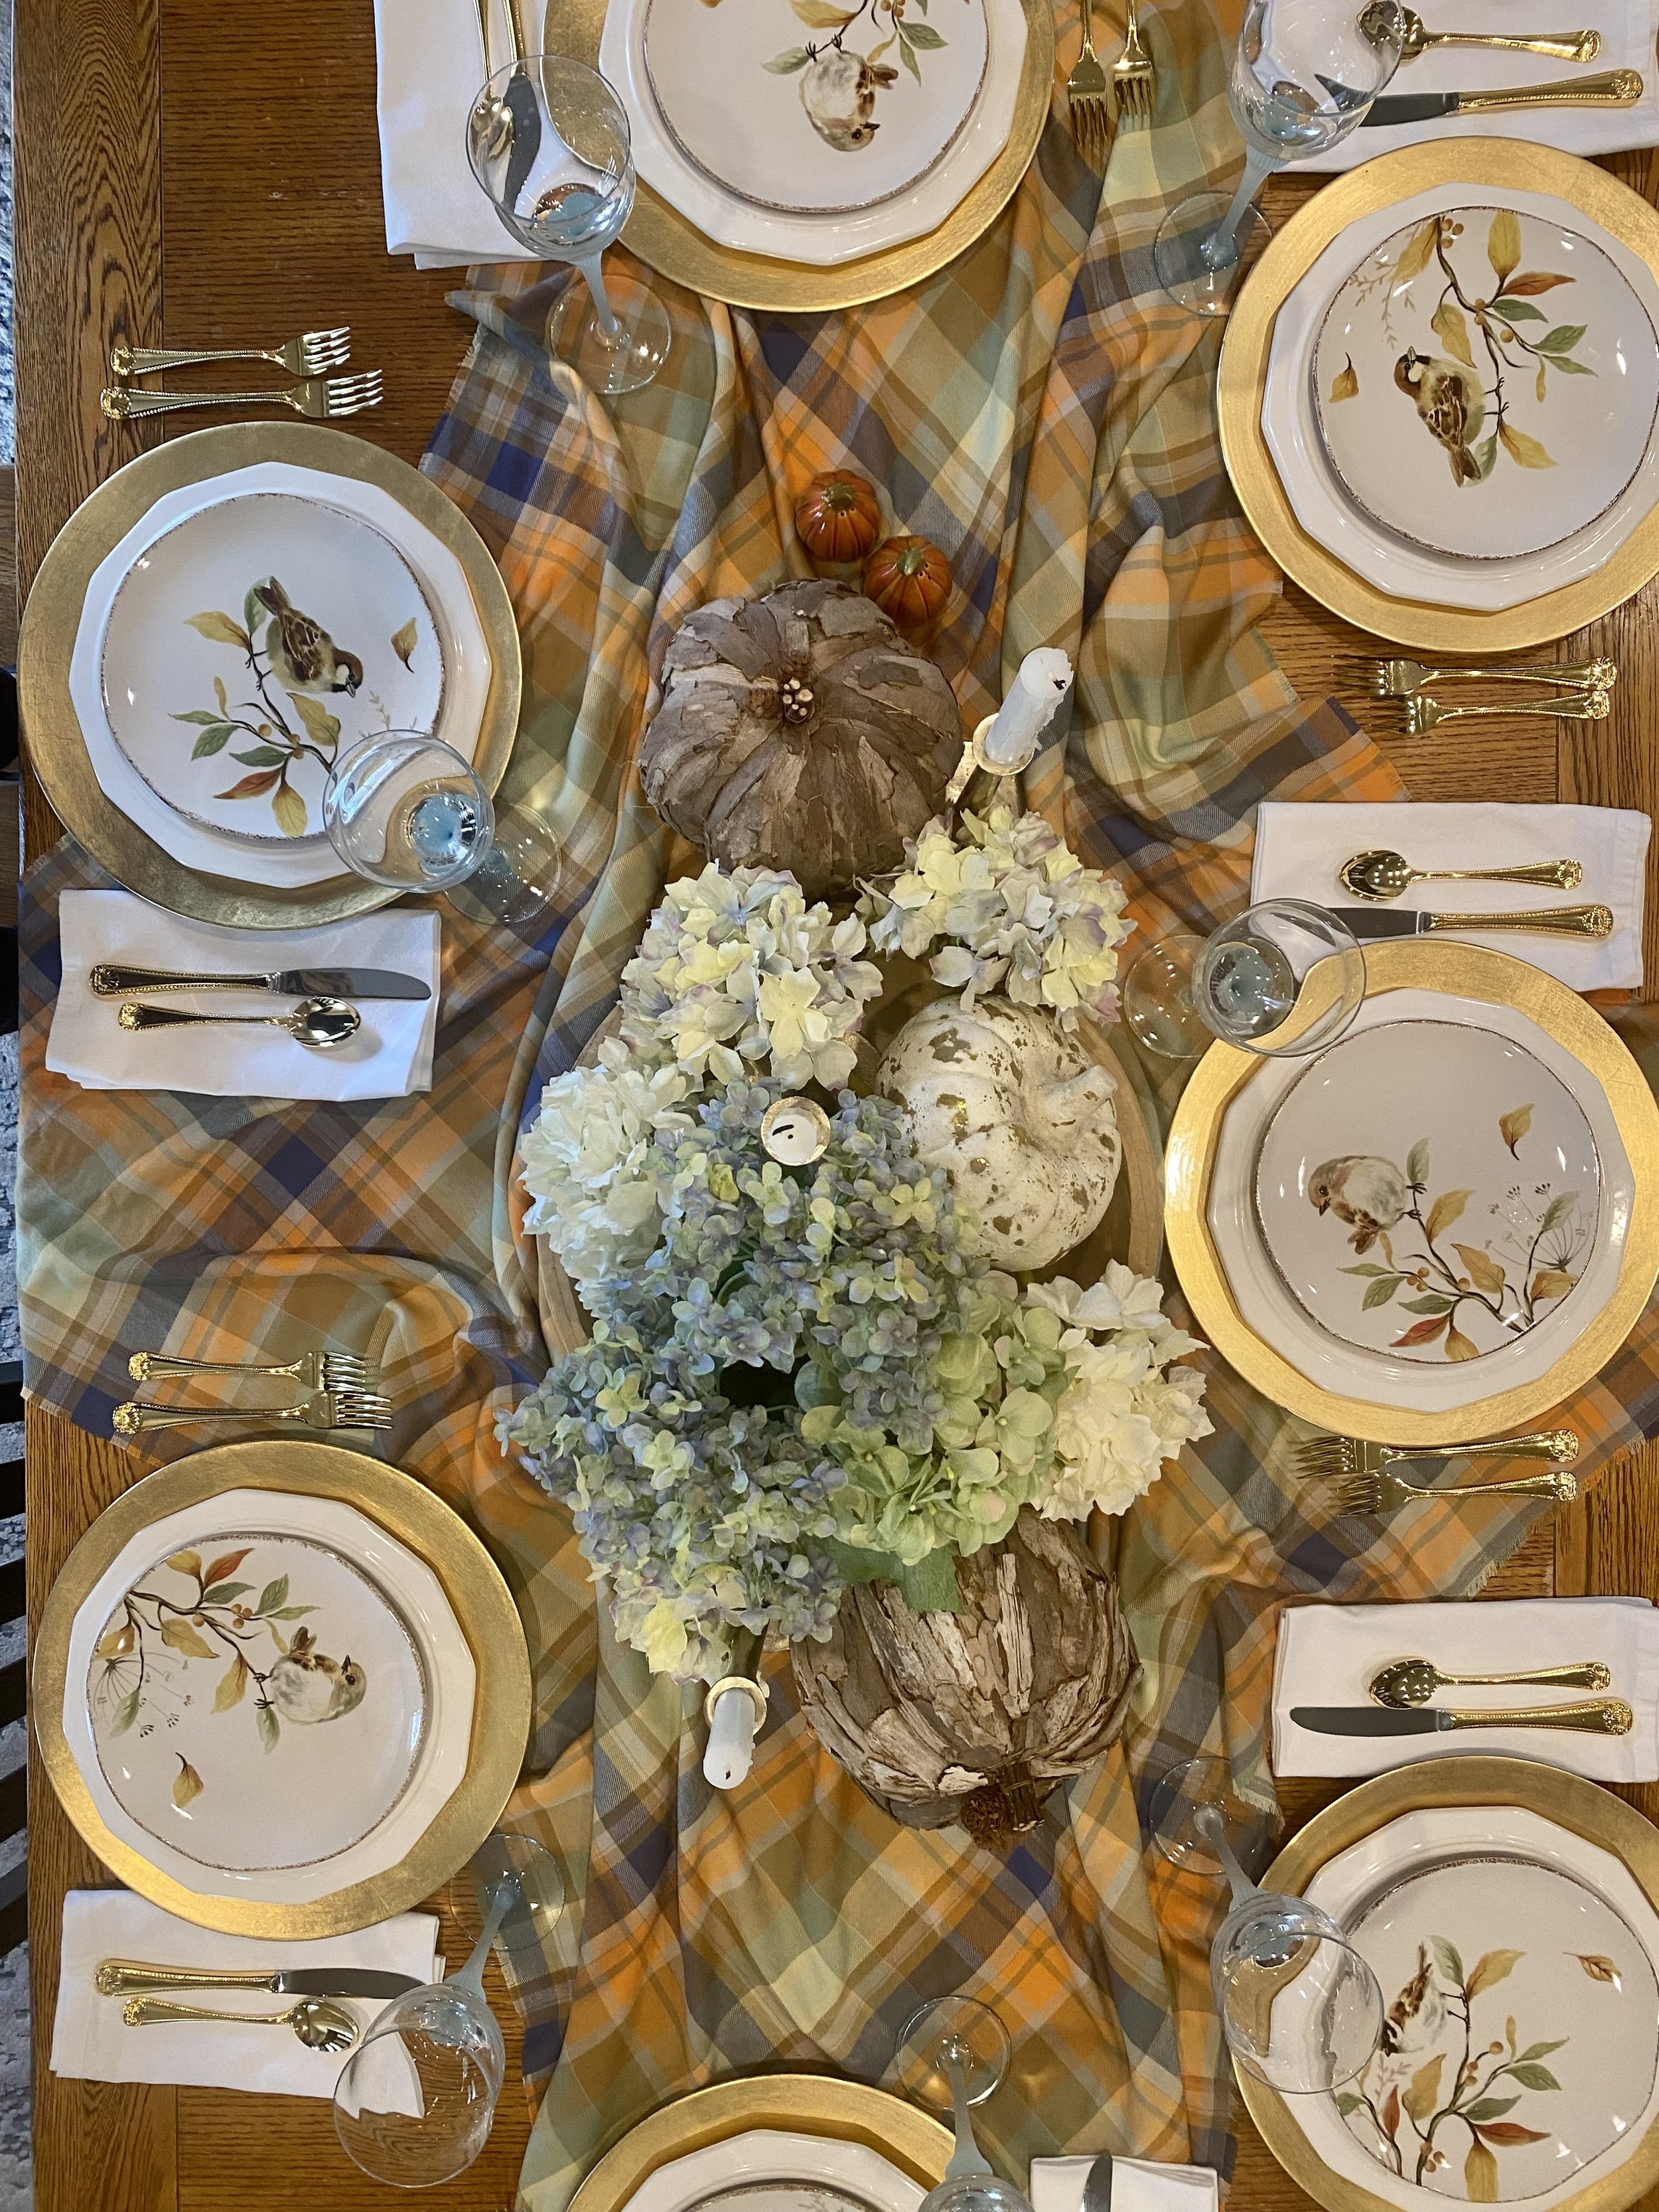
Top view of Thanksgiving Plaid Table
Step 9- Take Pictures of your table, just because!
I really make this more complicated than it has to be. Simple recap- invite the ones you love over, find some inspiration, do your best to make it your own, and imperfections won’t matter because of all the laughing and love that’s being shared. Oh, and good food!!

Kids Thanksgiving Table
Don’t forget the kids table! We have littles and as much as I love them I don’t want them using my light blue crystal goblets, lol (they are ages 4 - 9), and they don’t care how the table is set, they just want a place too! (Plates and cups from the dollar store.)
Well that’s it, easy peasy! I hope your gathering is wonderful and you can take the time to eat and just savor the moment with your loved ones.
Patrice